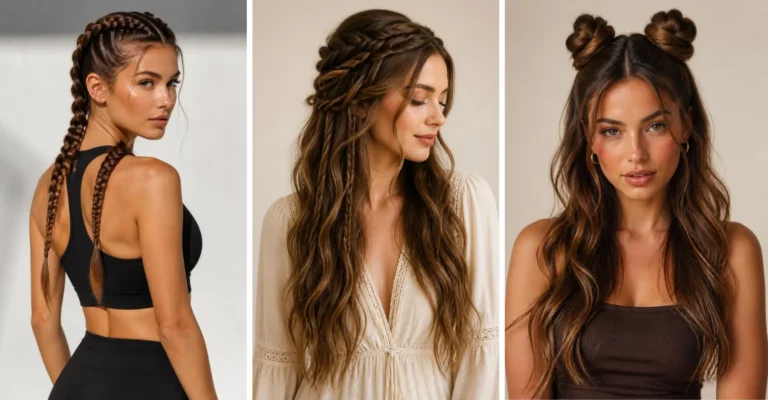
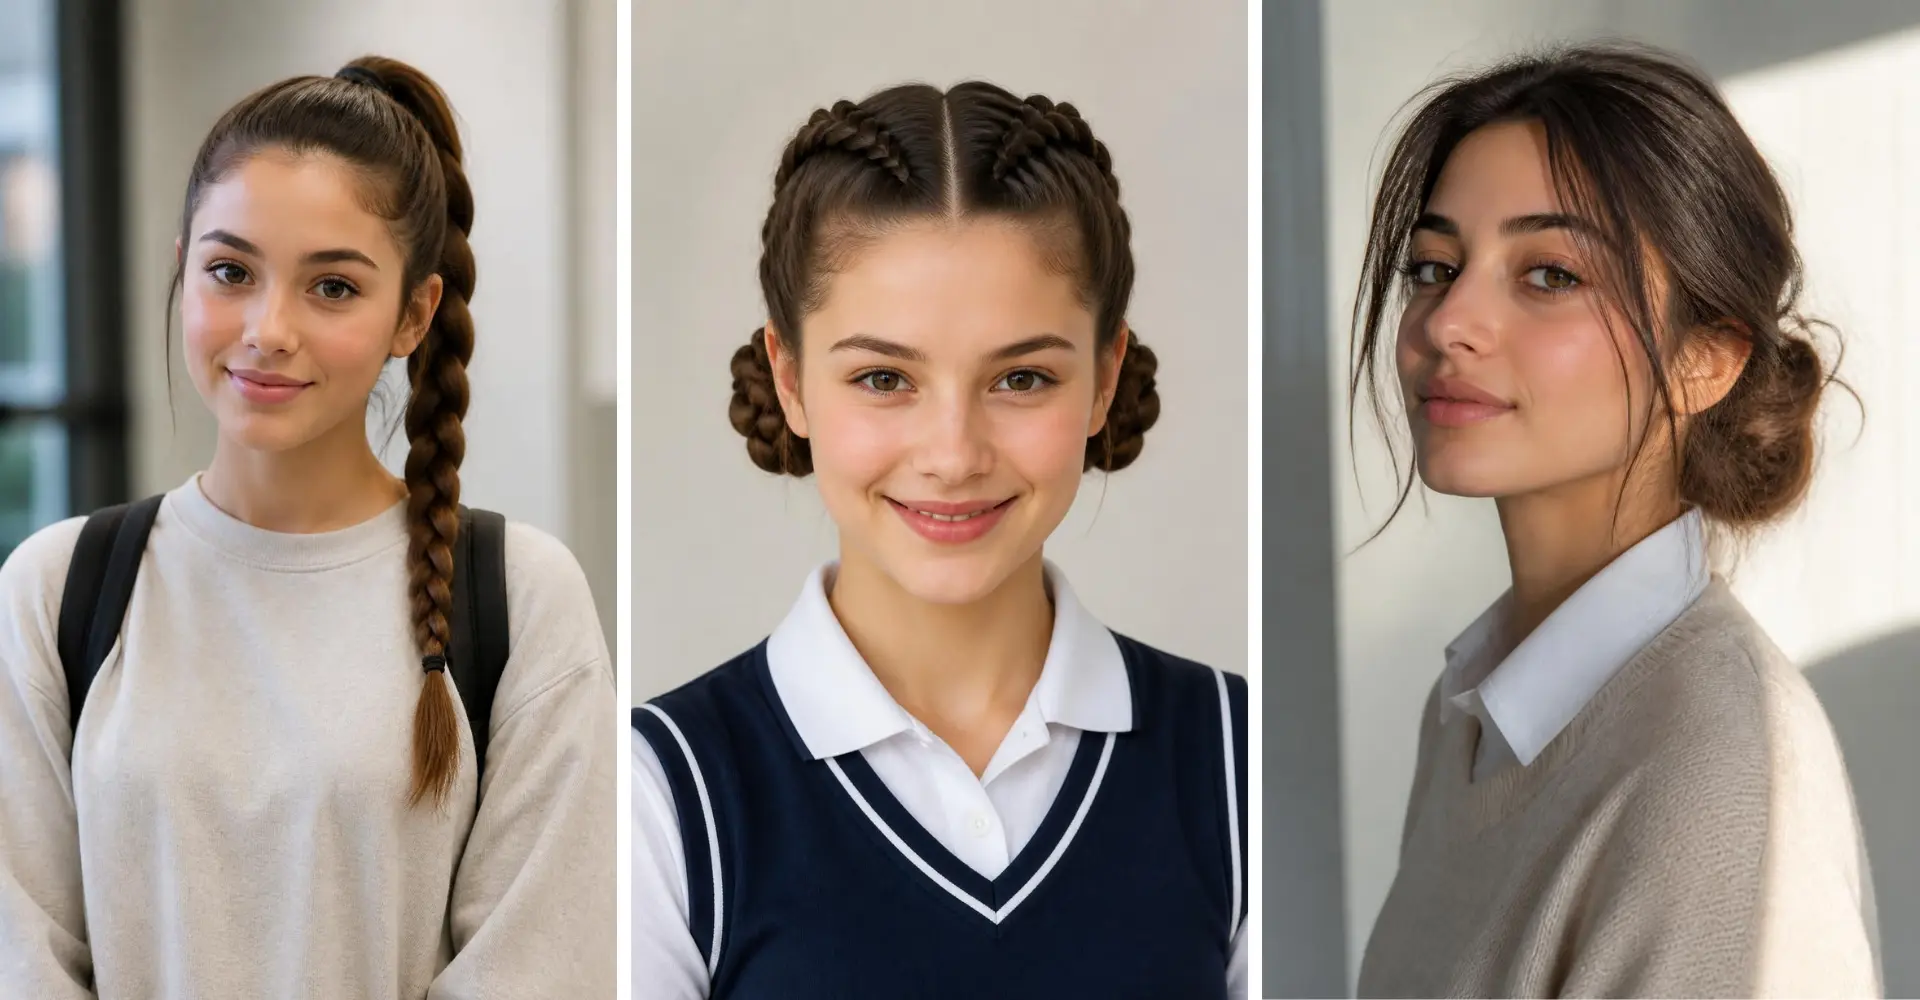
When makeup isn’t allowed and your uniform doesn’t leave much room for creativity, your hair becomes the one thing you can actually have fun with. A cute braid or a playful ponytail can make even the most basic school outfit feel like you put in effort.
The best part is that none of these looks require fancy tools or a ton of time. Most take five minutes or less, hold up through a full day of classes, and still look cute by the time the last bell rings.
Here are 27 easy hairstyles for school that’ll get you compliments before first period even starts.
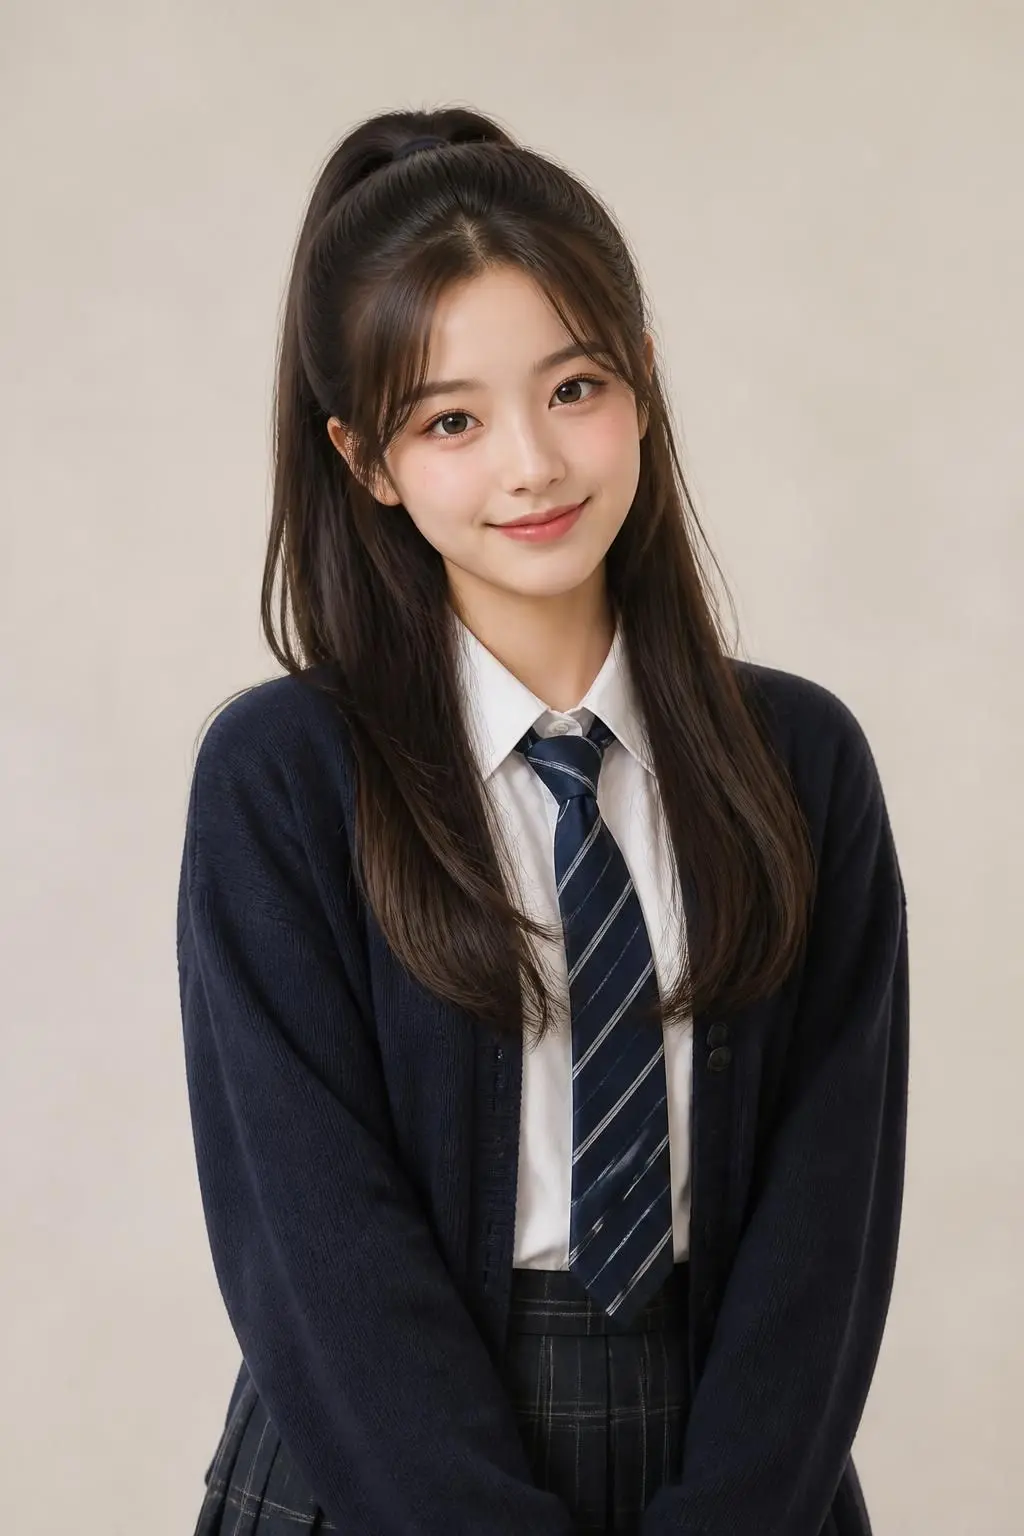
1. Half-Up Ponytail for an Easy Everyday Base
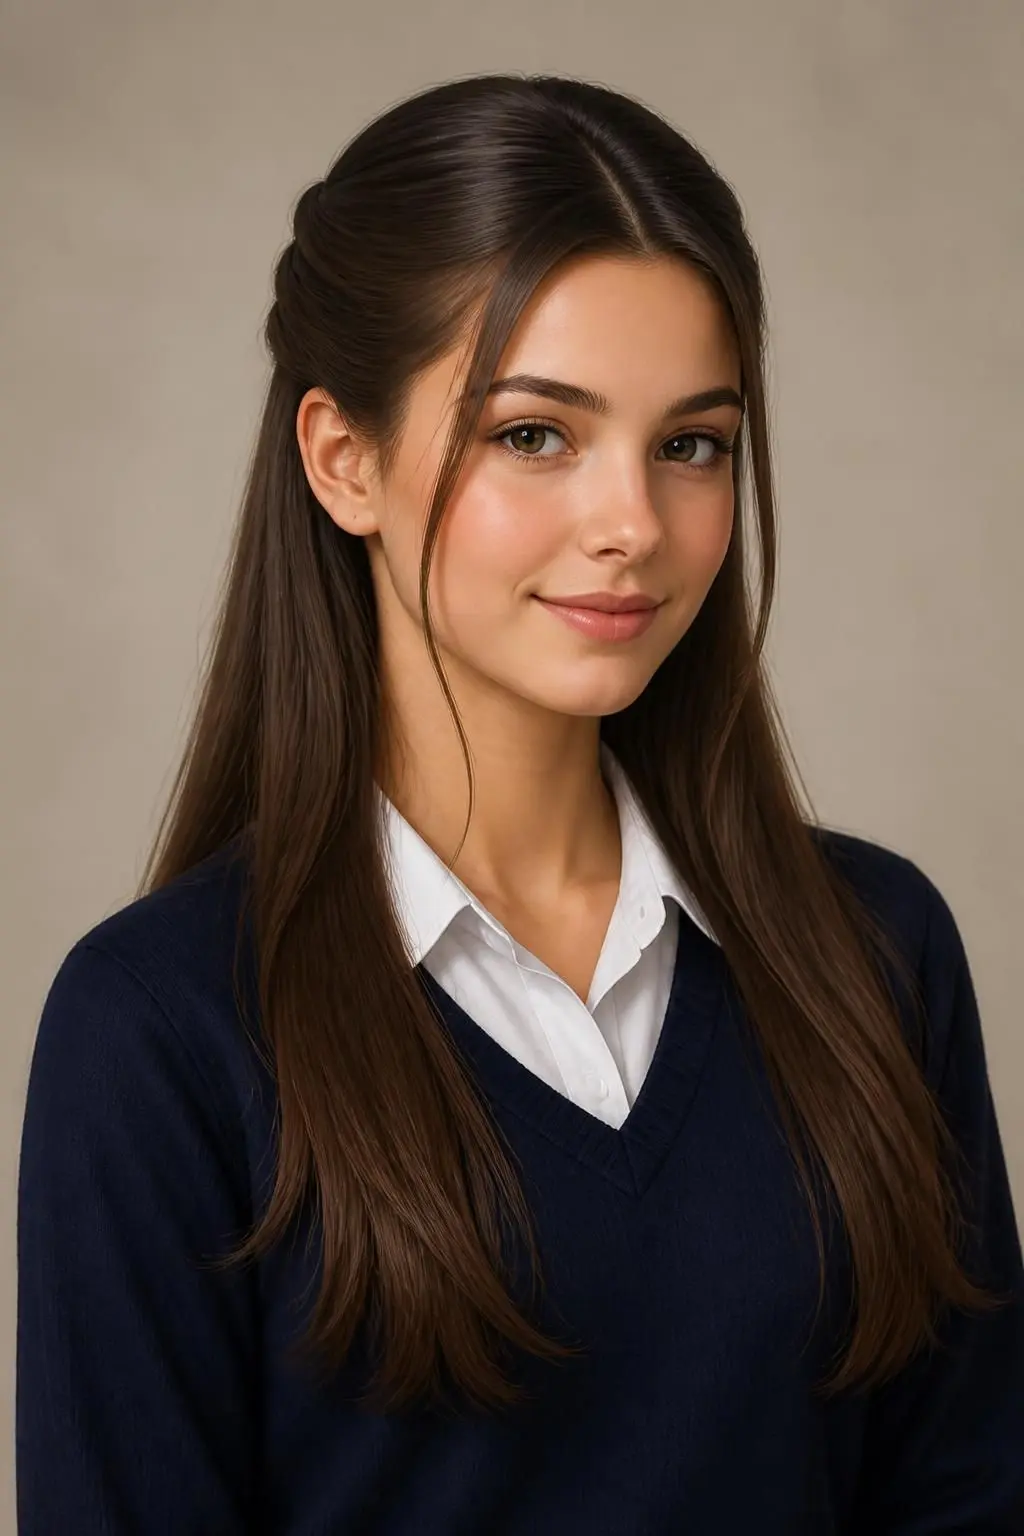
The half-up ponytail is the foundation almost every other look on this list builds from, and it’s the fastest way to look put-together without any real effort. Gather the top section of your hair, secure it with an elastic, and let the rest fall naturally.
It works with straight hair, waves, or texture underneath, which makes it endlessly repeatable without ever looking boring. A scrunchie keeps it casual, while a smaller, tighter elastic gives it a slightly more polished finish.
Tips for a Half-Up That Lasts All Day
Tease the roots slightly before securing. This adds a bit of lift so the style doesn’t go flat by lunchtime.
2. Sleek Half-Up for Polished Mornings
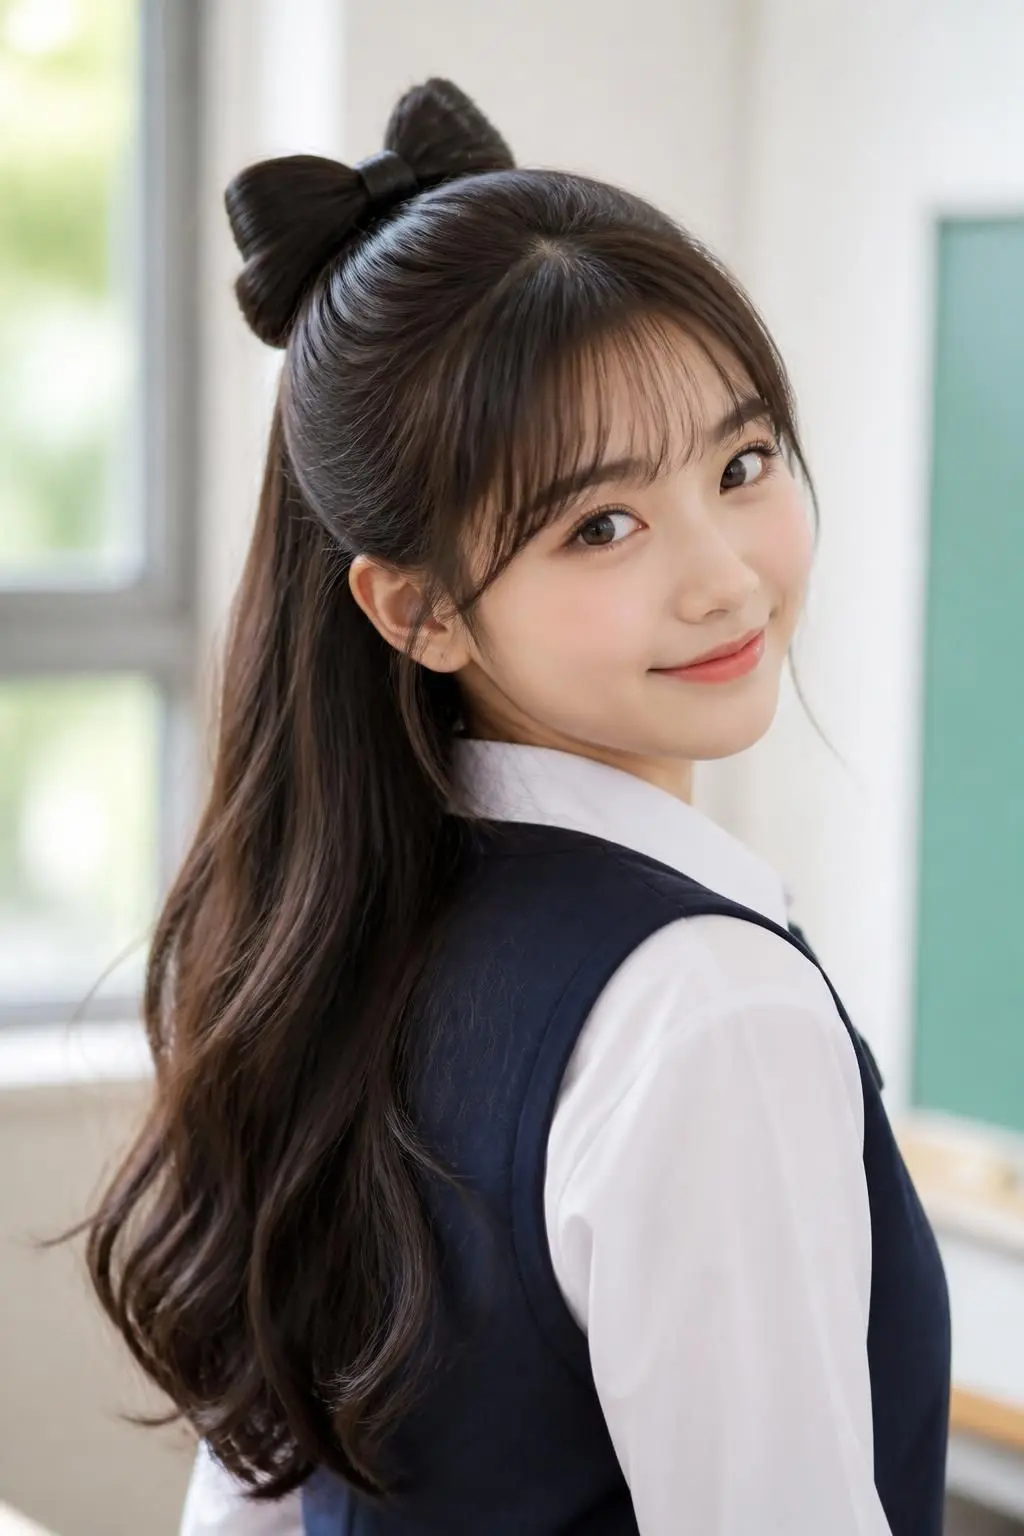
For days you want to look a little more put-together, a sleek half-up smooths down flyaways and keeps everything close to the head instead of loose and casual. It reads as intentional, even if it only took an extra minute to do.
A small amount of gel or edge control run along the hairline helps keep this version looking crisp through the day, which makes it a solid choice for picture day or presentations.
Tips for a Smooth, Frizz-Free Finish
Use a fine-tooth comb, not a brush, near the hairline. It gives you more control over stray hairs without disturbing the rest of your style.
3. Bow Half-Up for Instant Cuteness
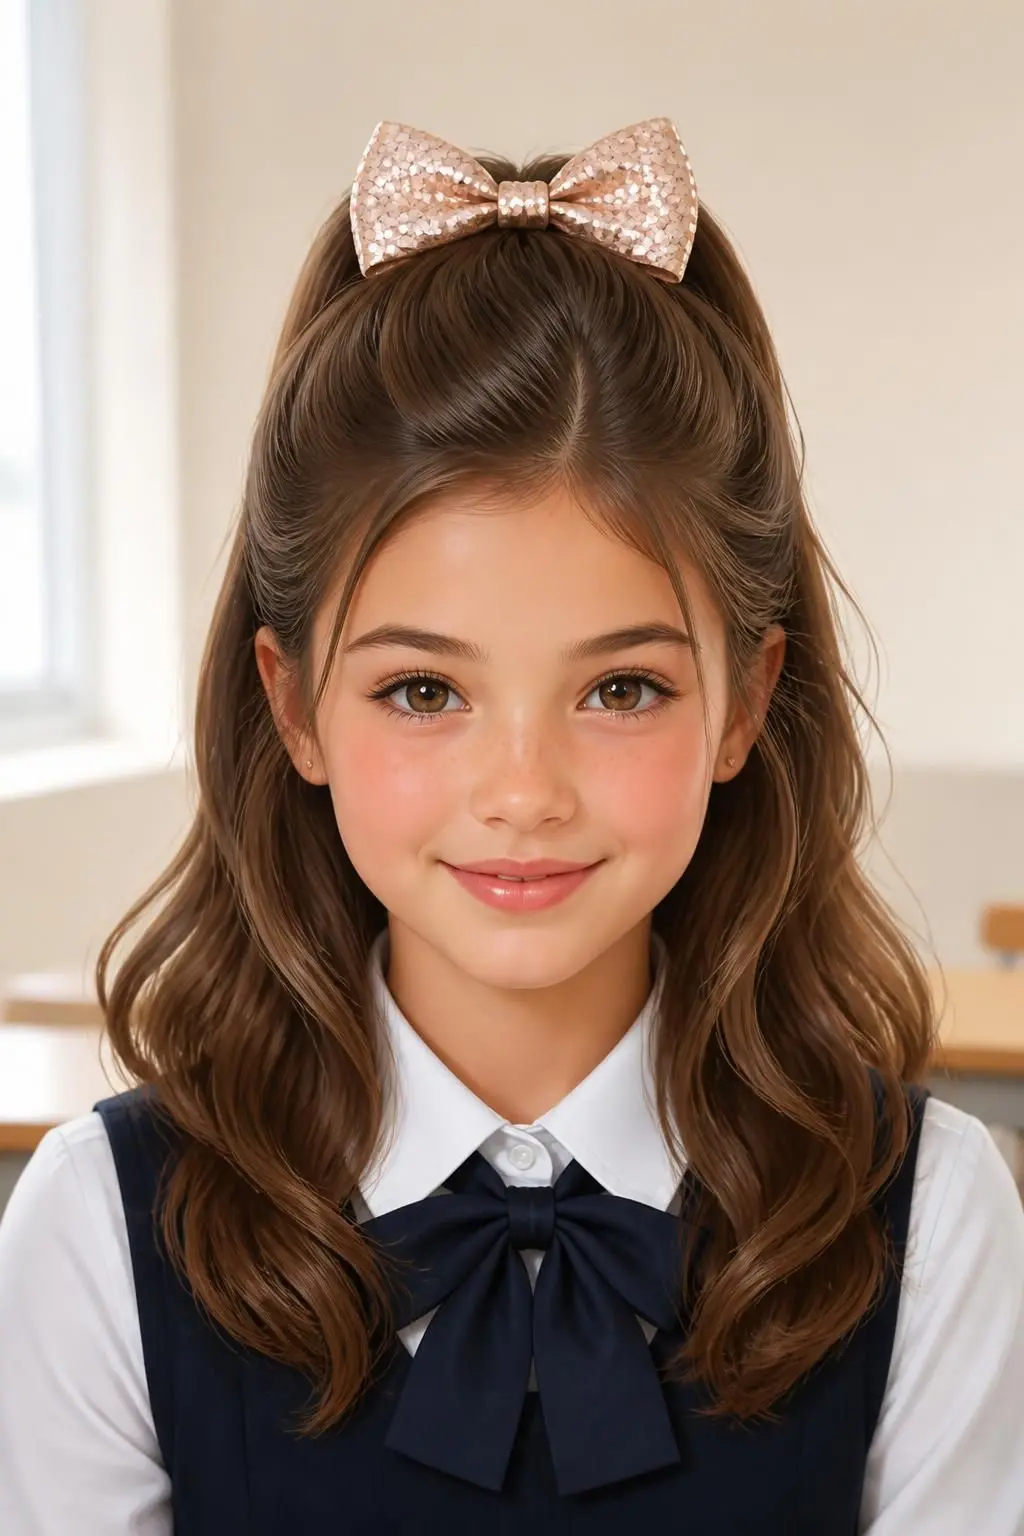
Nothing upgrades a basic half-up faster than a bow. Whether it’s a big, statement-making bow or a small, delicate one, clipping it over your elastic instantly makes the whole look feel more finished and a little more fun.
This is an easy way to match your hair to your outfit without much planning. Save a bold, oversized bow for picture day, and keep a smaller, more subtle one in your everyday rotation.
Tips for Choosing the Right Bow Size
Match bow size to hair thickness. Thinner hair can get overwhelmed by an oversized bow, while thicker hair can usually handle a bigger one without looking unbalanced.
4. Sparkly Bow Half-Up for Special Days
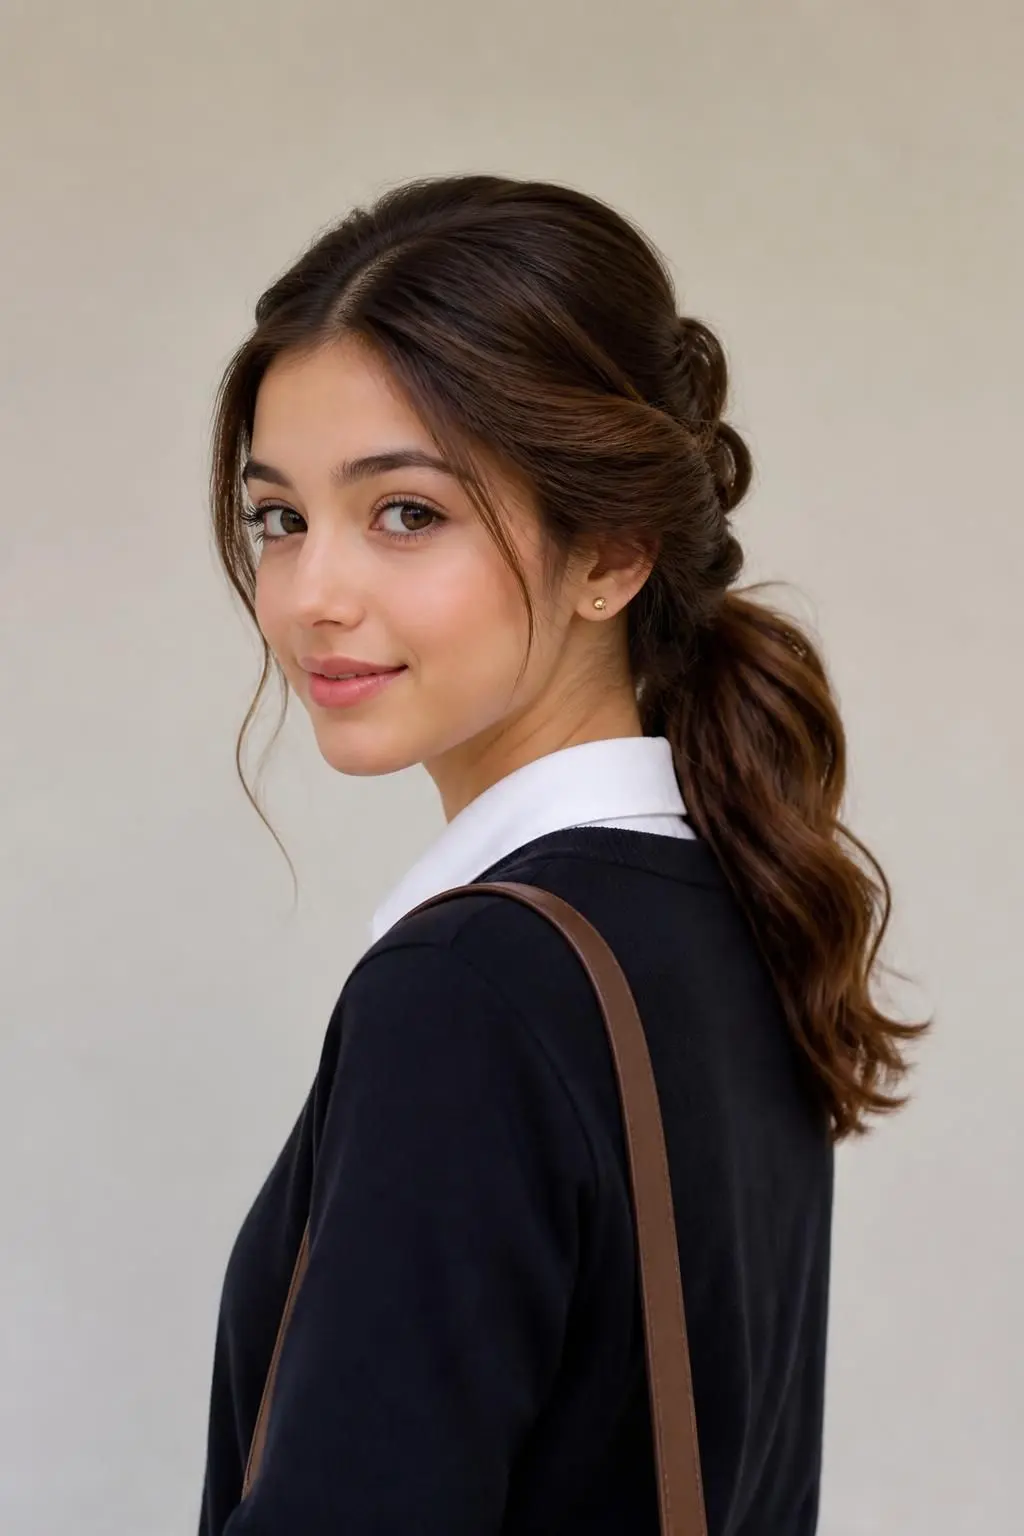
For days that call for a little extra, swap your usual bow for something with sparkle, sequins, or a metallic finish. It keeps the same easy half-up base but adds just enough shine to make the look feel special.
This version works especially well for school photos, performances, or any day you want your hair to do a little more talking than usual, without changing your actual routine.
Tips for Wearing Sparkly Accessories
Keep the rest of the look simple. Let the accessory be the statement piece rather than pairing it with a busy braid or texture underneath.
5. French Twisted Ponytail for a Dressed-Up Feel
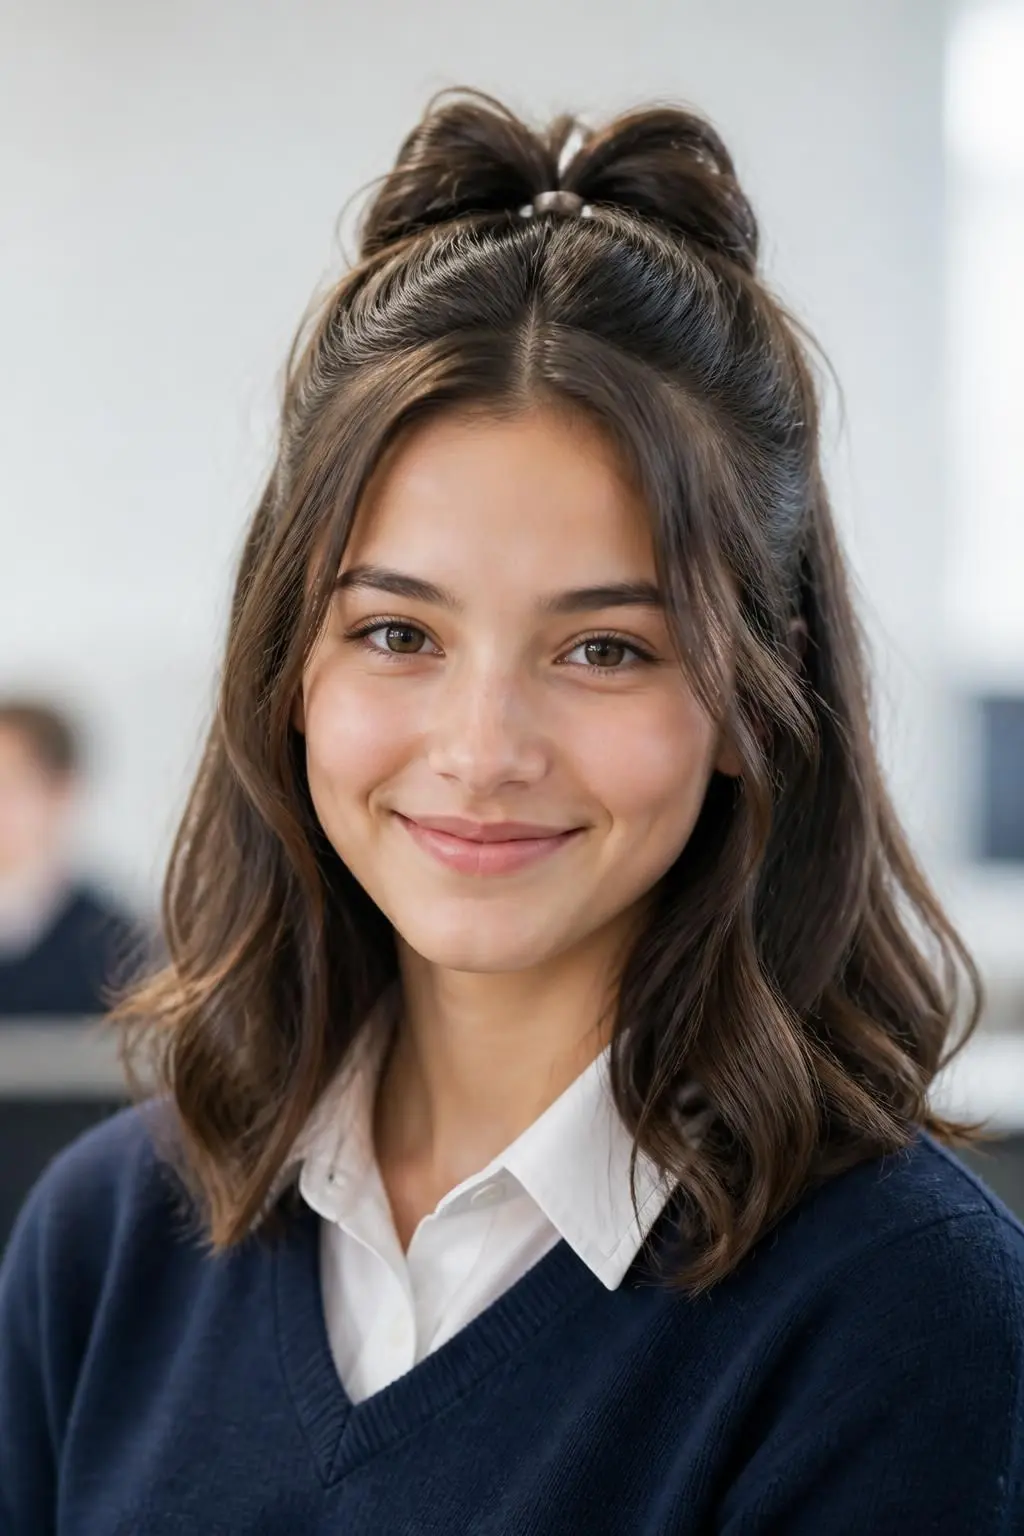
This one looks far more complicated than it actually is. Twist two sections from either side of your head, cross them over each other, and gather everything into a low ponytail. The twisted detail instantly makes a basic pony look considerably more done.
It photographs well from every angle, which makes it a solid pick for school events or days you want a slightly elevated version of your everyday ponytail without much extra effort.
Tips for a Neat French Twist
Pin the crossed sections in place before pulling everything into the ponytail. This keeps the twist from loosening as you finish the style.
6. Half-Up Topsy Tail for a Playful Twist

This nostalgic little trick flips a basic half-up on its head, literally. Gather the top section as usual, then instead of securing it flat, flip it through itself using the topsy tail technique for a neat, twisted knot at the crown.
It takes the same amount of time as a regular half-up but adds a small detail that makes it feel more intentional. It also holds its shape well, which makes it a good option for gym days.
Tips for a Clean Topsy Tail Flip
Keep the elastic loose enough to flip through easily. Too tight, and the flip becomes difficult without pulling hair.
7. Full Topsy Tail Ponytail for Effortless Chic
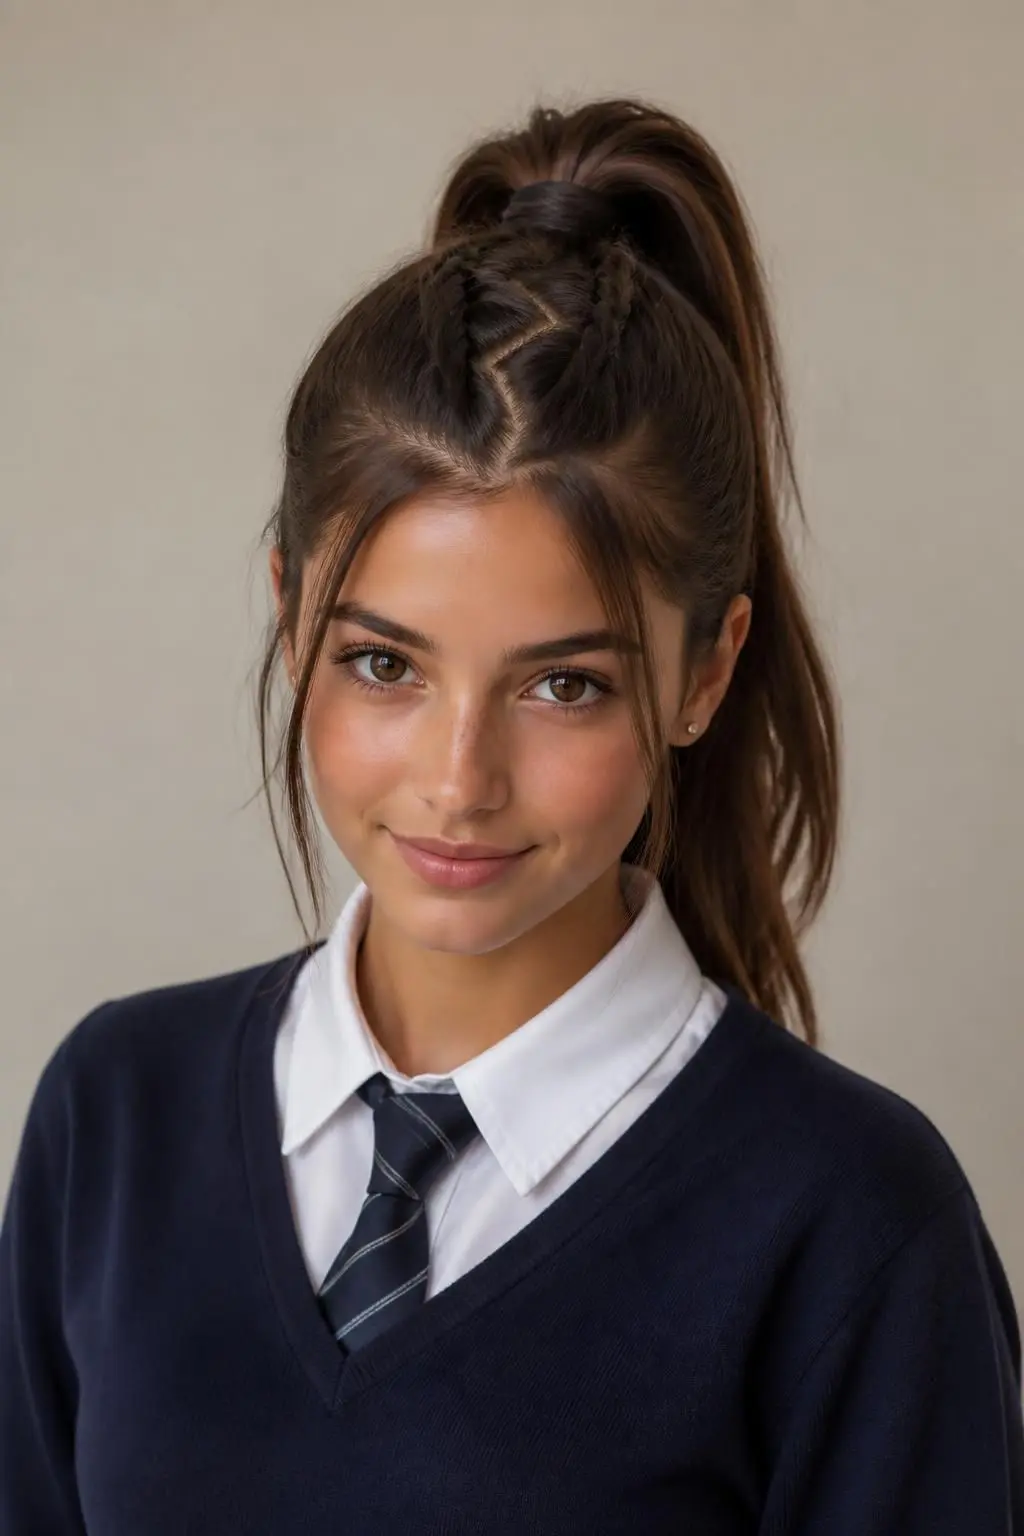
Take the same flip-through trick and apply it to a full, low ponytail instead of just the top section. Gather all your hair, secure it low, and flip the ponytail through itself for a look that feels both nostalgic and genuinely current.
Wear it sleek for a neater finish, or leave it slightly loose and tousled for something more relaxed. Either way, it takes well under five minutes from start to finish.
Tips for Styling a Full Topsy Tail
Loosen the ponytail slightly with your fingers after flipping. This softens the shape and keeps it from looking too tight or severe.
8. Zigzag Part Ponytail for an Unexpected Detail
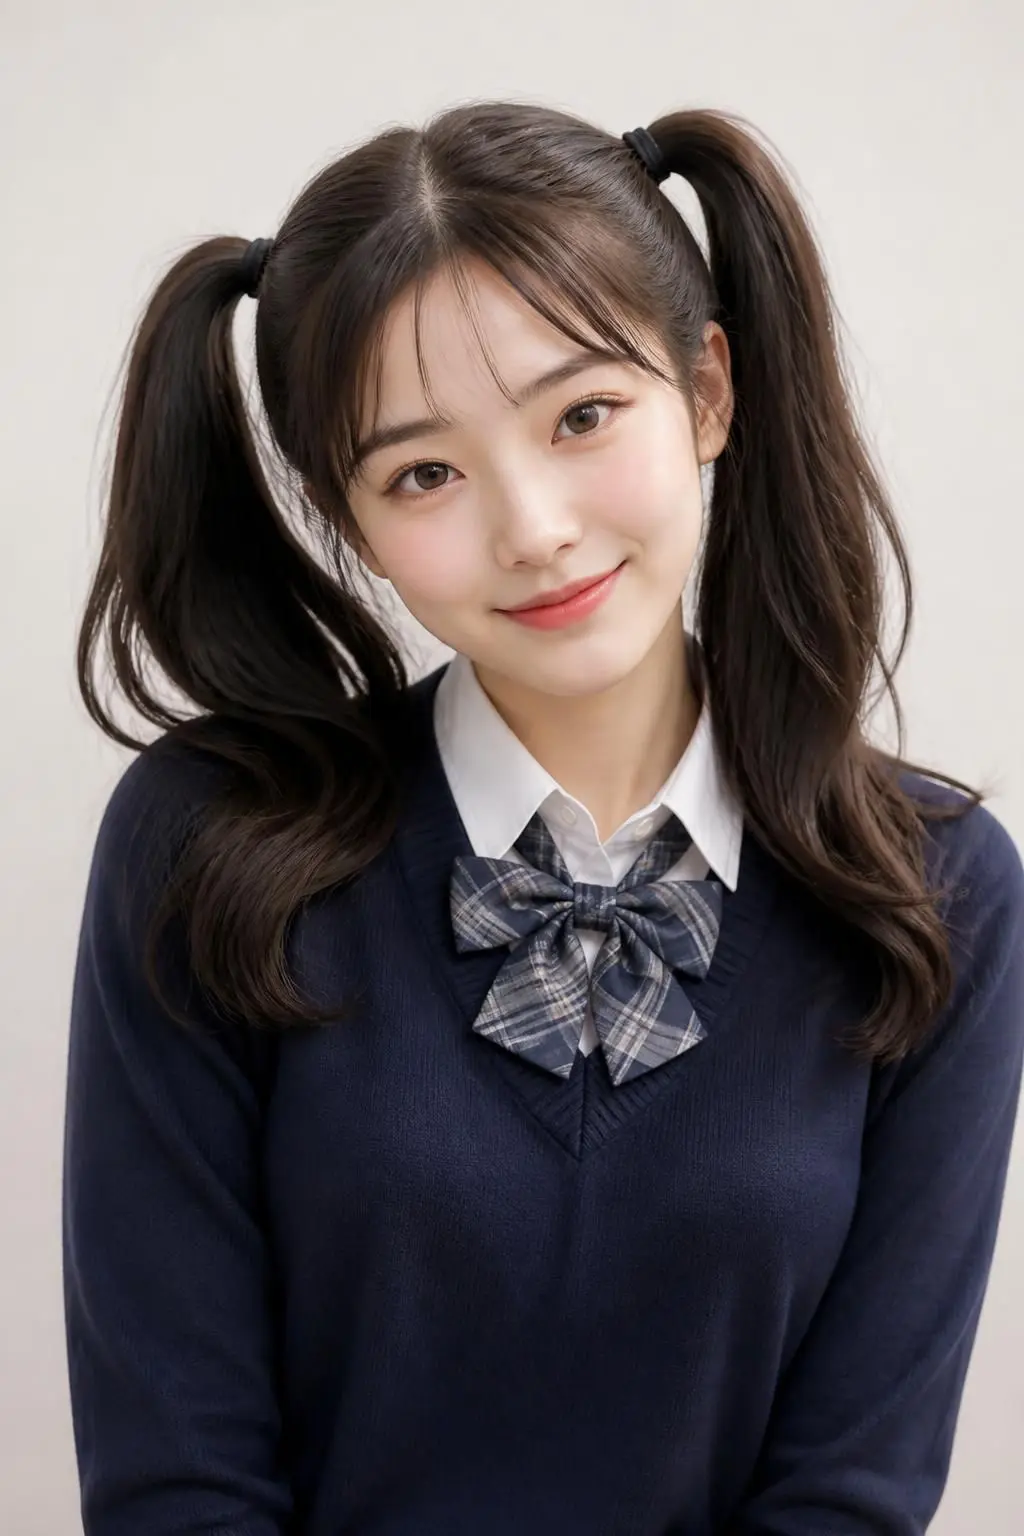
A basic ponytail gets an instant upgrade with a zigzag part instead of a straight one. Use the tip of a rat-tail comb to create a jagged, back-and-forth part before pulling your hair back, and let that small detail do all the work.
It’s a subtle change that makes people look twice without requiring any braiding or extra product. This works especially well on straight, sleek hair where the part line stays clearly visible.
Tips for a Crisp Zigzag Part
Work slowly with a fine comb tip. Rushing the zigzag tends to blur the lines and lose the sharp, graphic effect.
9. Double Ponytails for Throwback Cuteness
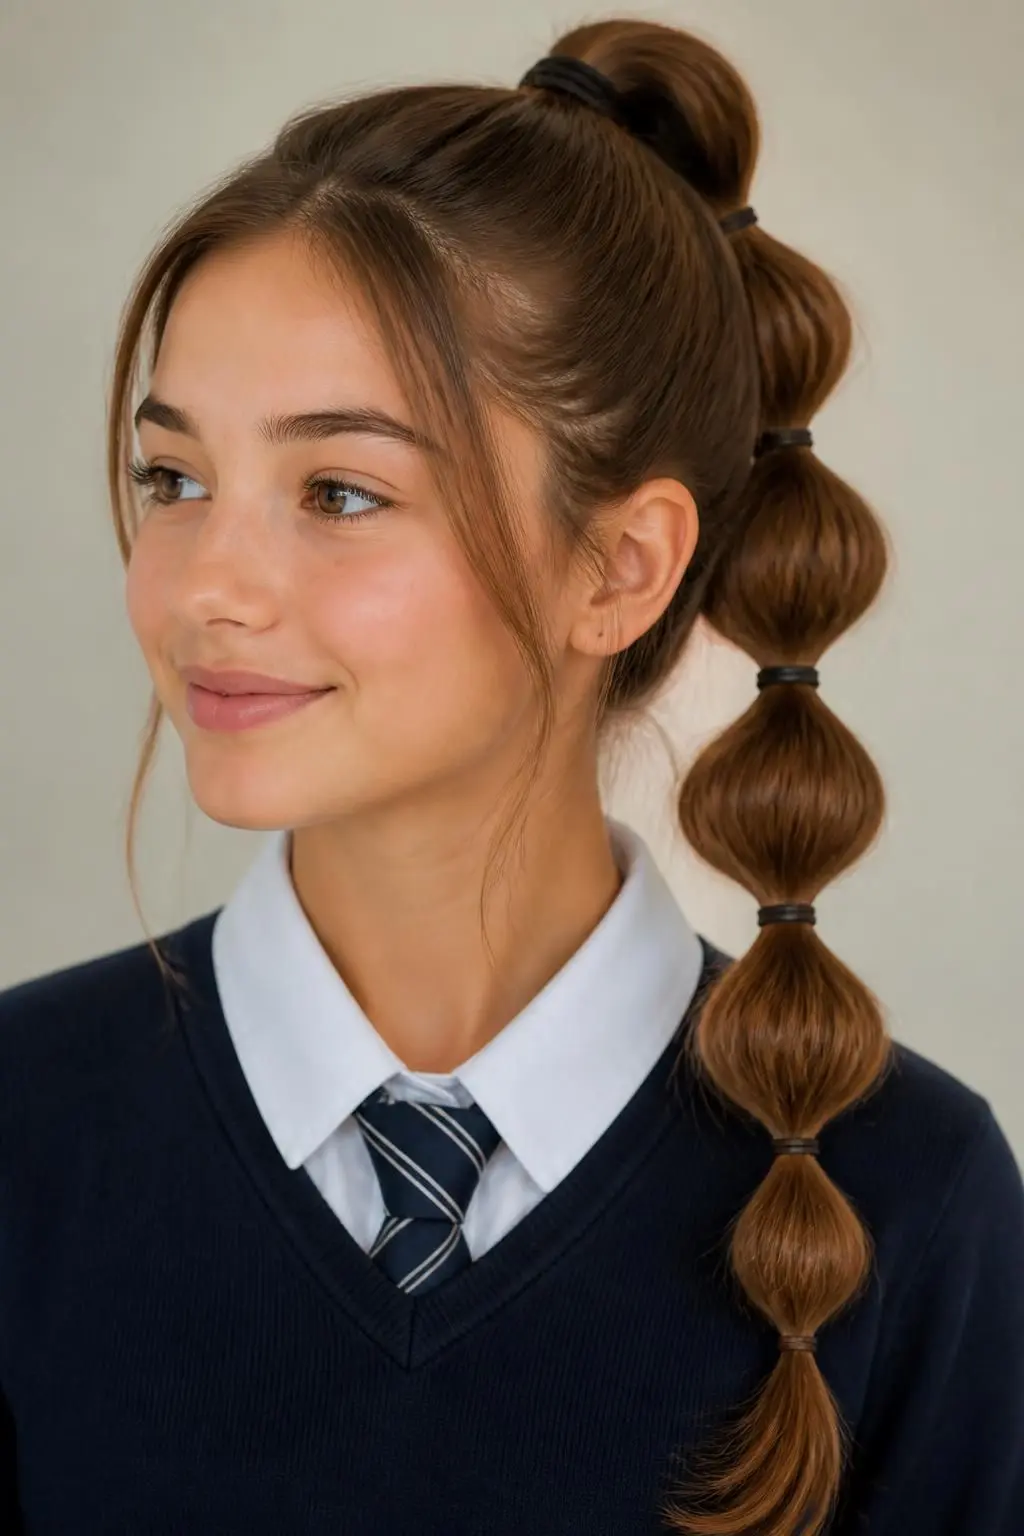
Two high ponytails bring a playful, slightly nostalgic energy that still manages to feel current rather than costume-y. Part your hair down the middle, secure each side high on the head, and you’re done in under a minute.
This style works well for gym days since it keeps hair fully off your neck, but it also looks intentionally cute with the right accessories, from colorful elastics to small clips at the base of each pony.
Tips for Even, Symmetrical Ponytails
Use a rat-tail comb to create a precise middle part first. This makes it far easier to keep both ponytails even in height and thickness.
10. Bubble Braid for a Playful Twist on a Classic
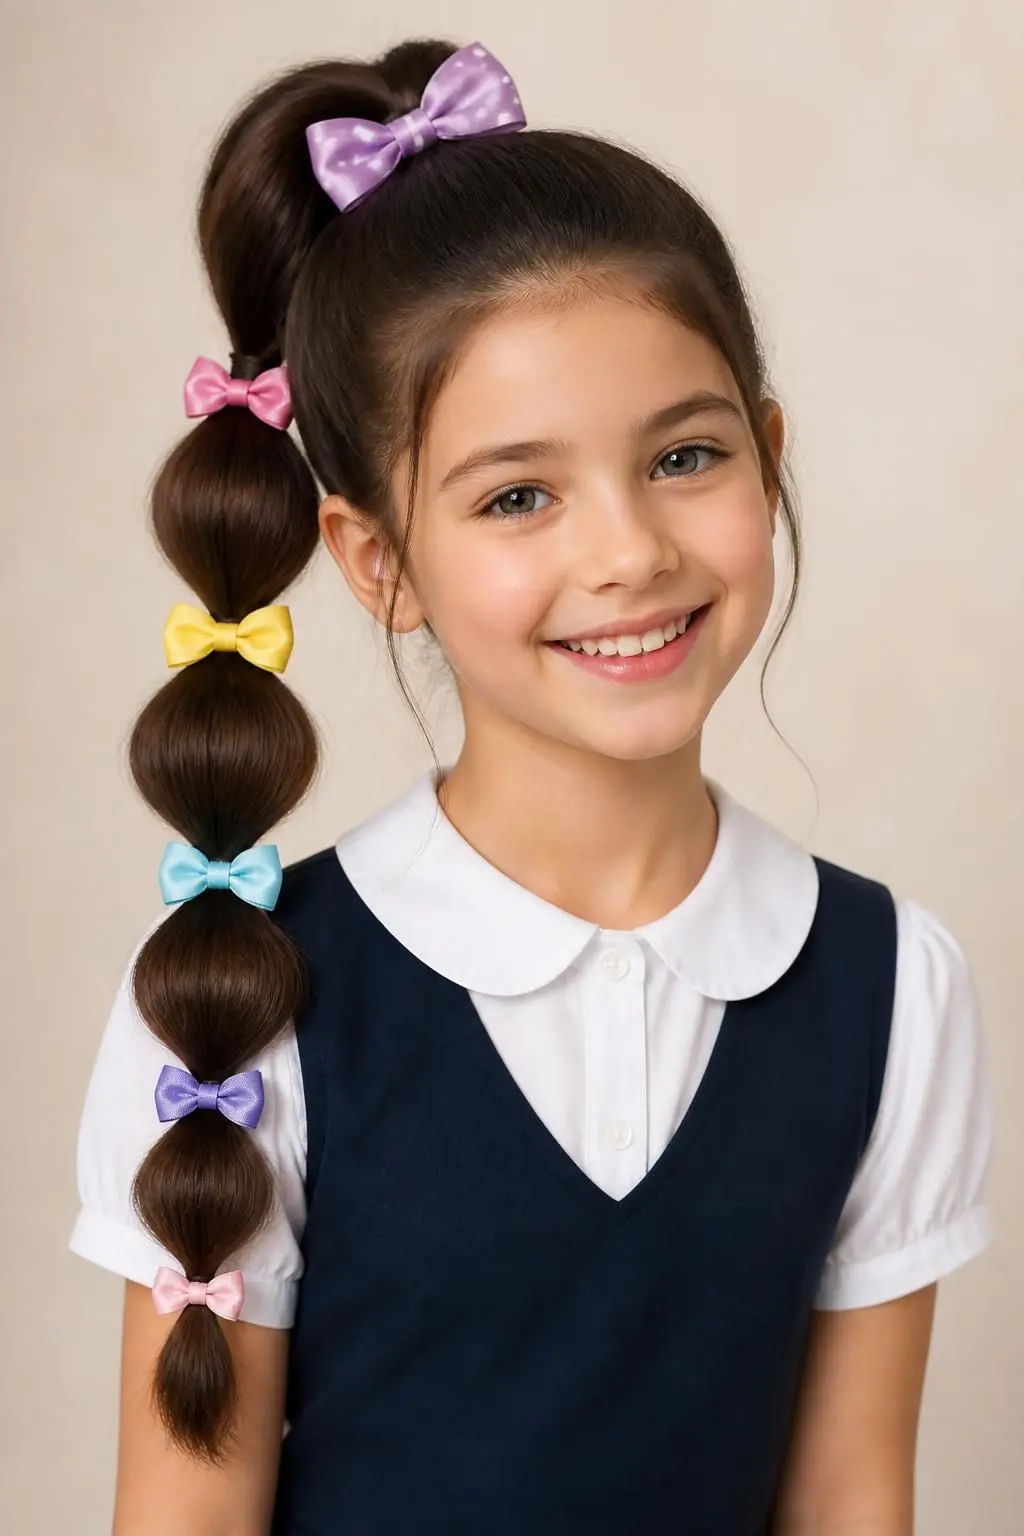
This one takes a basic low ponytail and transforms it into something far more eye-catching. Add small elastics every couple of inches down the length, then gently pull at each section to create rounded “bubbles” the whole way down.
It looks intricate but is genuinely simple once you get the hang of spacing the elastics evenly. Matching the elastics to your outfit or backpack adds a nice finishing touch.
Tips for Full, Rounded Bubbles
Pull gently from the edges of each section, not the center. This creates a fuller, more rounded bubble shape instead of a flat, stretched-out look.
11. Bubble Ponytail with Bows for Extra Sparkle

Take the bubble ponytail one step further by clipping a small bow onto each bubbled section. It turns an already fun style into something that feels genuinely special, without adding much extra time to your routine.
This version works particularly well for school events, performances, or any day you want your hair to match a slightly dressier outfit than usual.
Tips for Adding Bows to Each Bubble
Use small, lightweight bows rather than large ones. Bulkier bows can weigh down each section and disrupt the rounded bubble shape.
12. Double Bubble Ponytails for Main-Character Energy
Combine the bubble technique with double ponytails for a look that’s genuinely hard to miss in the hallway. Section your hair into two ponytails, then add elastics down the length of each one for a playful, symmetrical finish.
It takes a little more time than a single bubble ponytail, but the payoff is a look that reads as far more elaborate than it actually is to create.
Tips for Keeping Both Sides Even
Count your elastics on each side as you go. Matching the number and spacing keeps both ponytails looking intentional rather than mismatched.
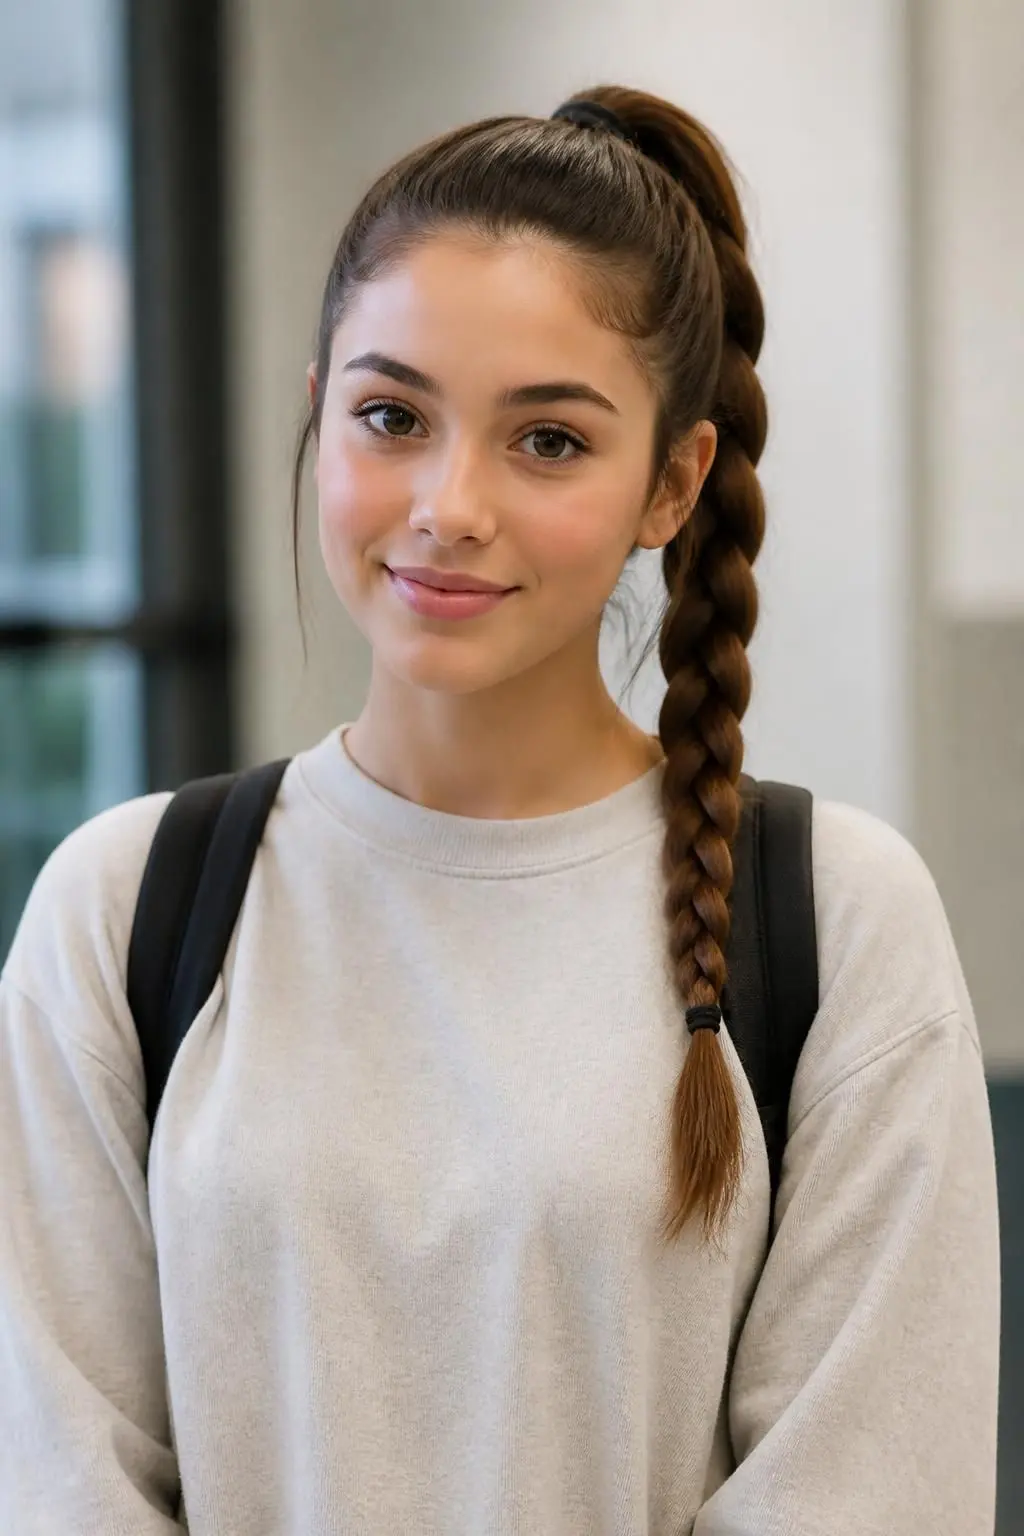
13. Ponytail Braid Combo for Sleek Practicality
Why choose between a ponytail and a braid when you can have both? Start with a secure ponytail, then braid it all the way down and finish with a small tie at the end. It’s neat, practical, and stays put through an entire school day.
This combination works especially well for hair that tends to slip out of a plain braid, since the ponytail base gives it extra hold from the start.
Tips for a Braid That Doesn’t Slip
Braid tightly near the base and loosen slightly toward the ends. This keeps the style secure at the root while still looking soft at the bottom.
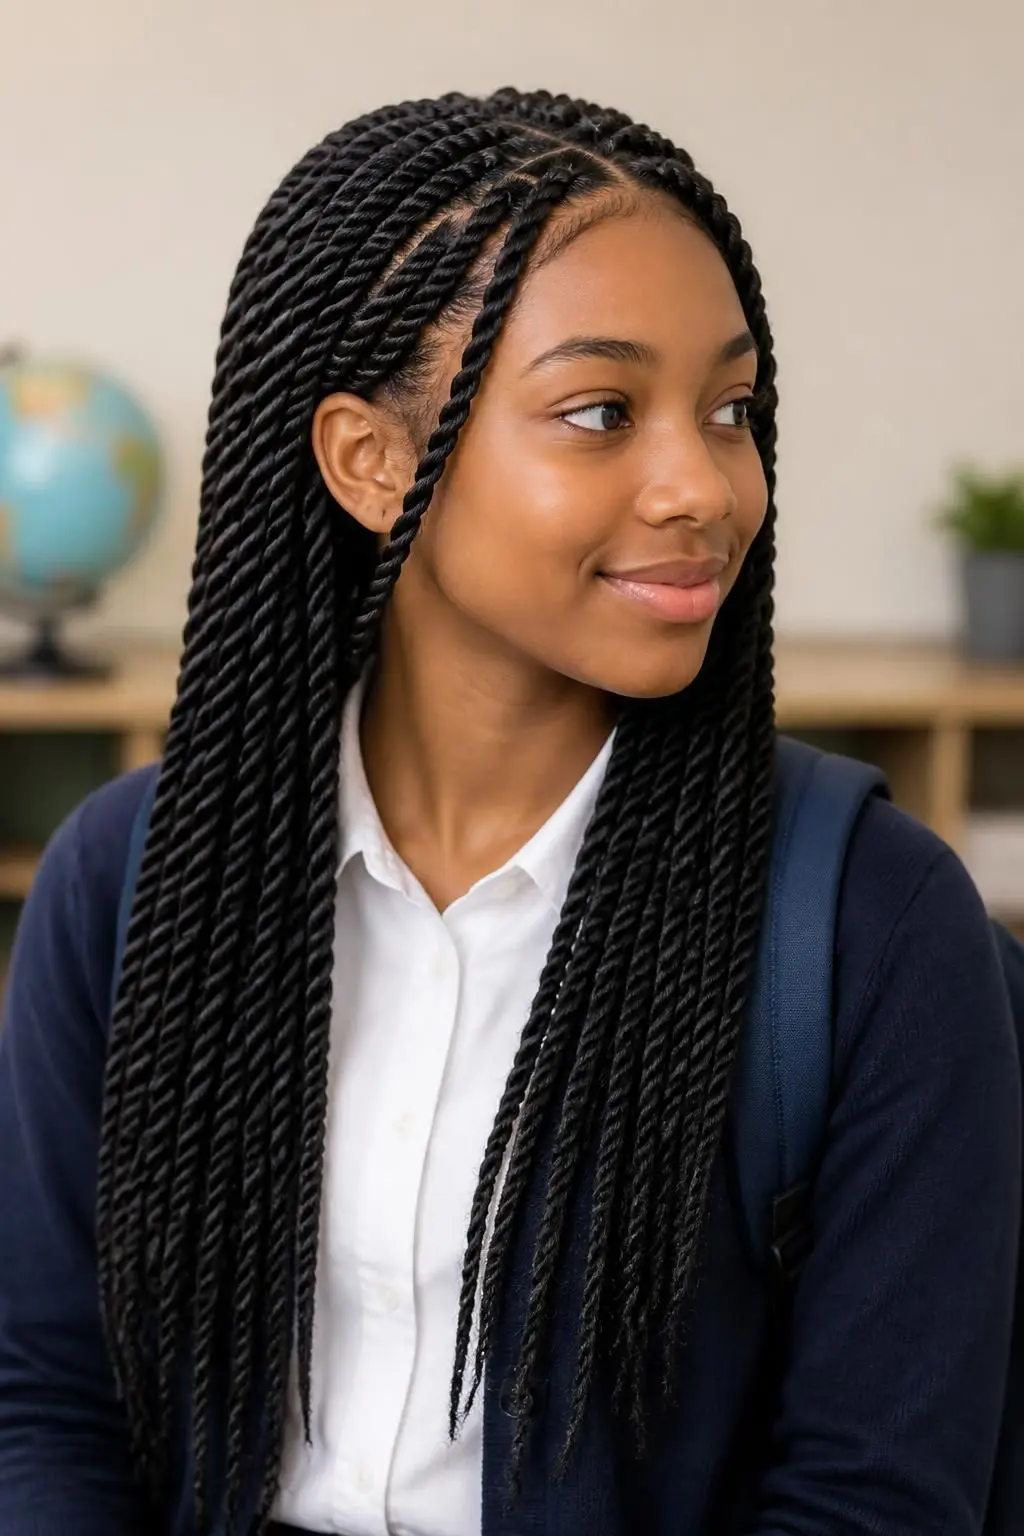
14. Rope Braids for a Quick Twisted Look
If a full braid feels like too much effort, rope braids are the shortcut. Simply twist two sections of hair around each other from root to end for a delicate, twisted finish that takes barely any practice.
Tie the finished rope braid into a low ponytail for an extra polished look, or leave it loose for something a bit more relaxed and undone.
Tips for a Neat Rope Braid
Twist each section in the same direction consistently. Switching directions partway through creates an uneven, lumpy finish.
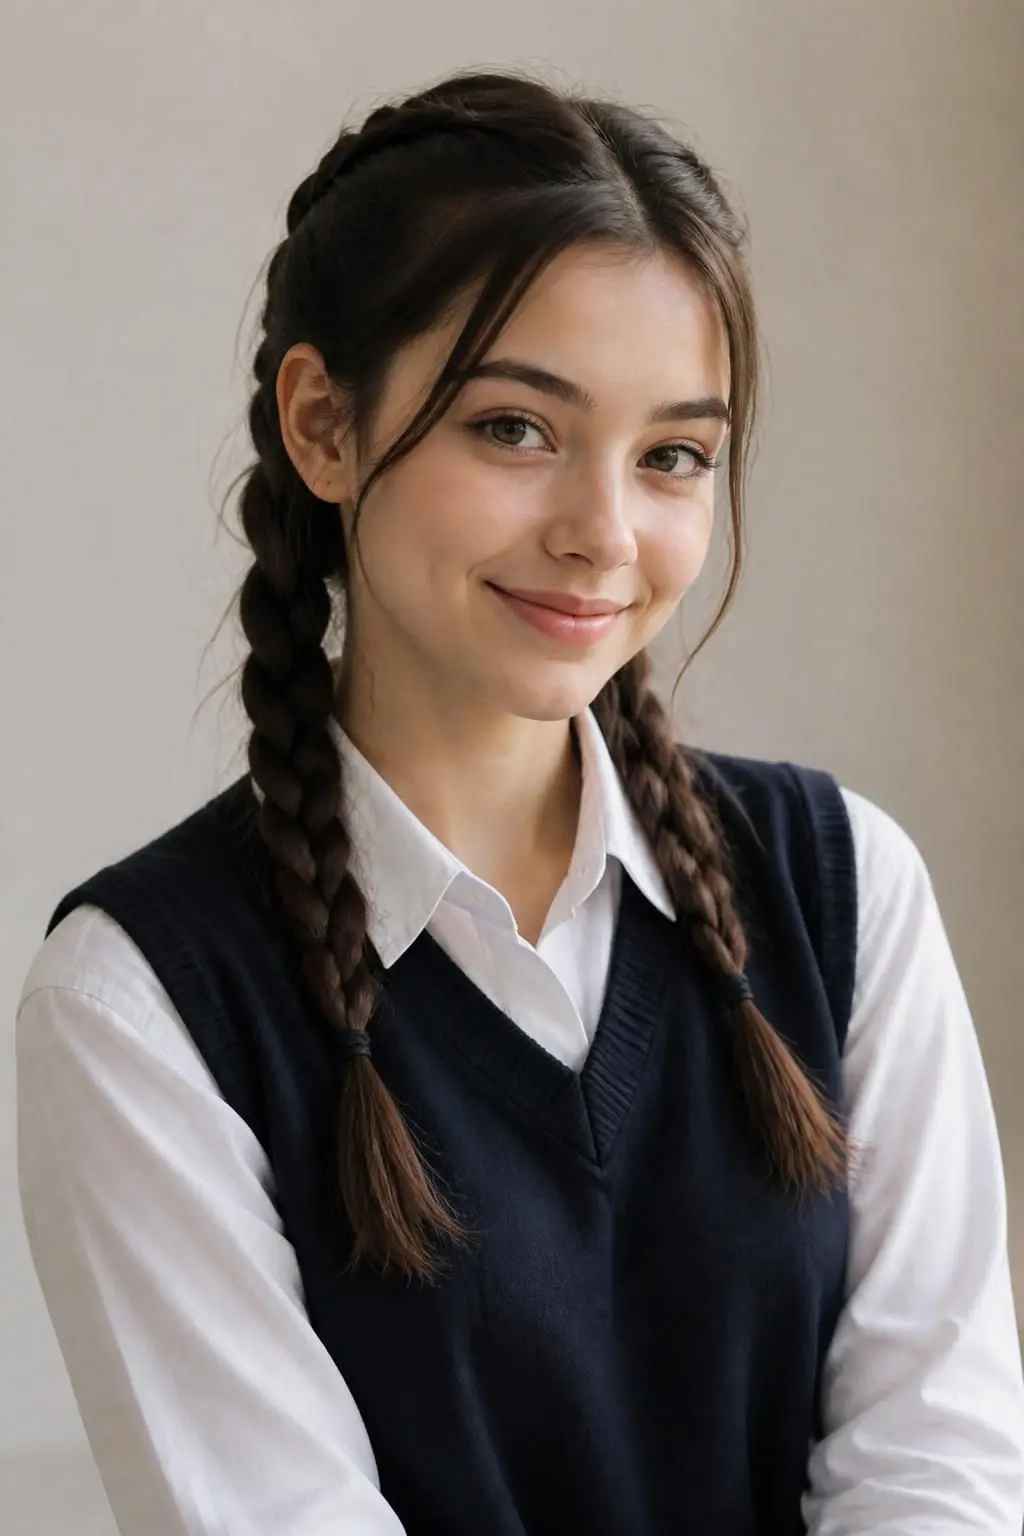
15. Simple Front Braids for Minimal-Effort Detail
For days when you want a small styling detail without committing to a full braided look, grab two small sections from the front of your hair, braid each one, and let the rest fall loose. It keeps hair out of your face while adding just enough interest.
This works well over straight or wavy hair and takes only a minute or two, making it one of the easiest options on this whole list.

Tips for Face-Framing Front Braids
Keep the sections small and close to the hairline. Thicker sections tend to look bulky rather than delicate against loose hair.
16. Classic French Braid for Reliable Polish
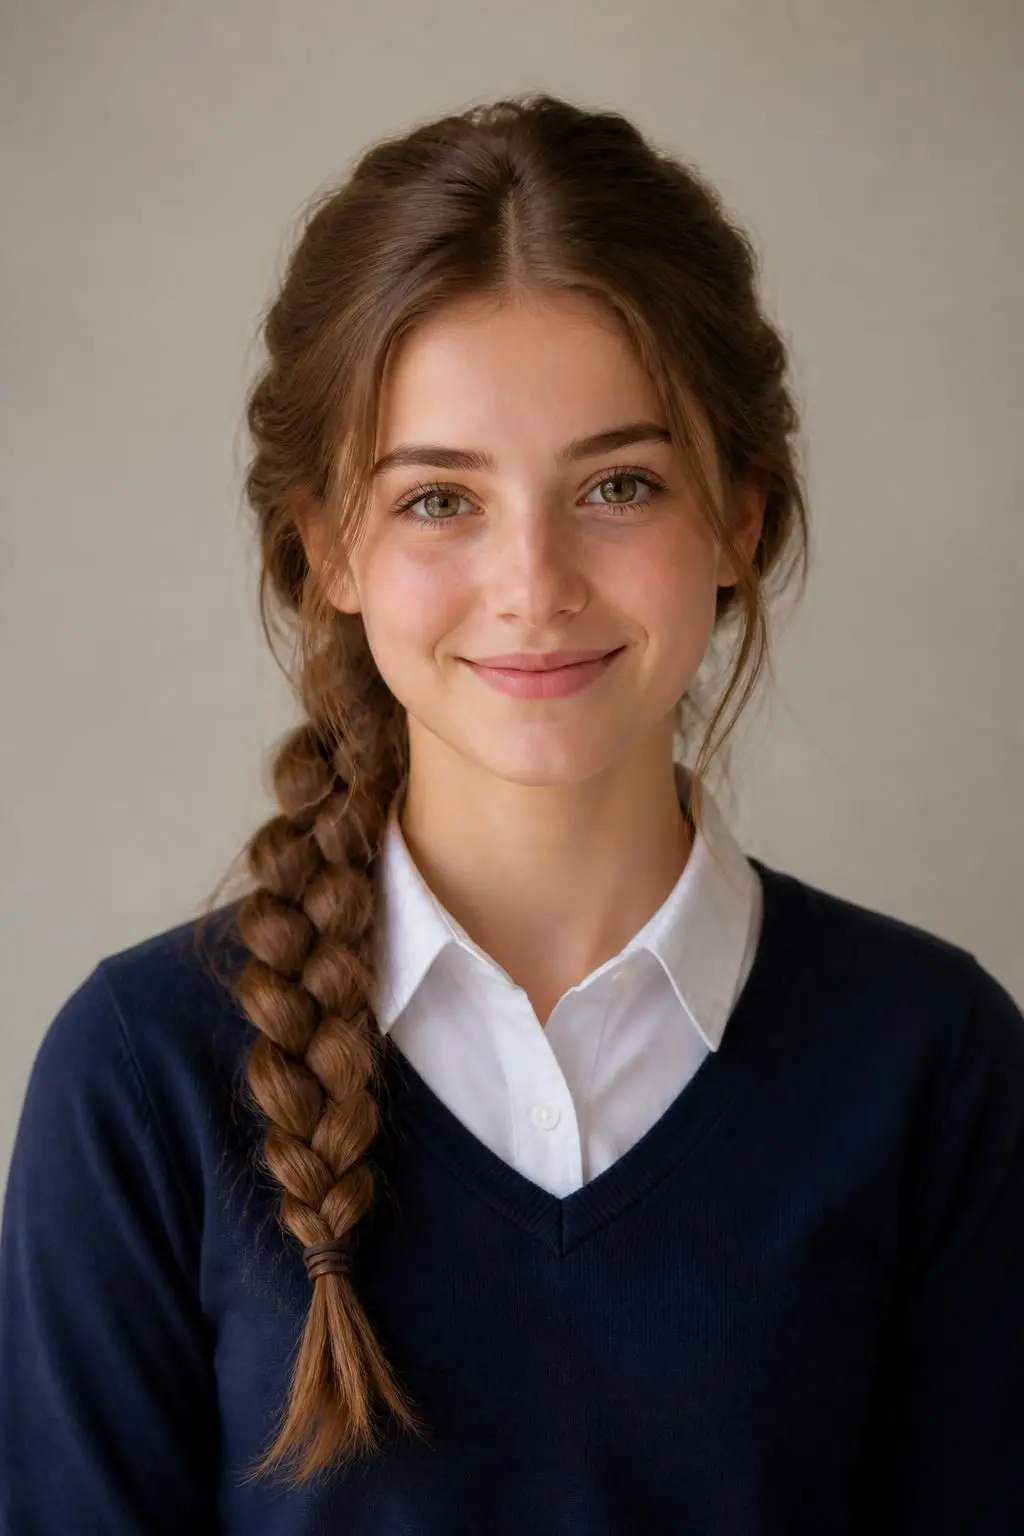
The French braid earns its spot as a forever classic because it genuinely works for everything, from gym class to picture day. It keeps hair fully secured and out of your face while still looking neat and put-together from every angle.
Once you’ve practiced it a few times, it becomes one of the fastest styles on this list to recreate, which makes it a great everyday option when you don’t want to overthink your hair.
Tips for a Long-Lasting French Braid
Braid slightly tighter near your hairline. This is where most French braids loosen first throughout the day.
17. Loose French Braid for a Relaxed Finish
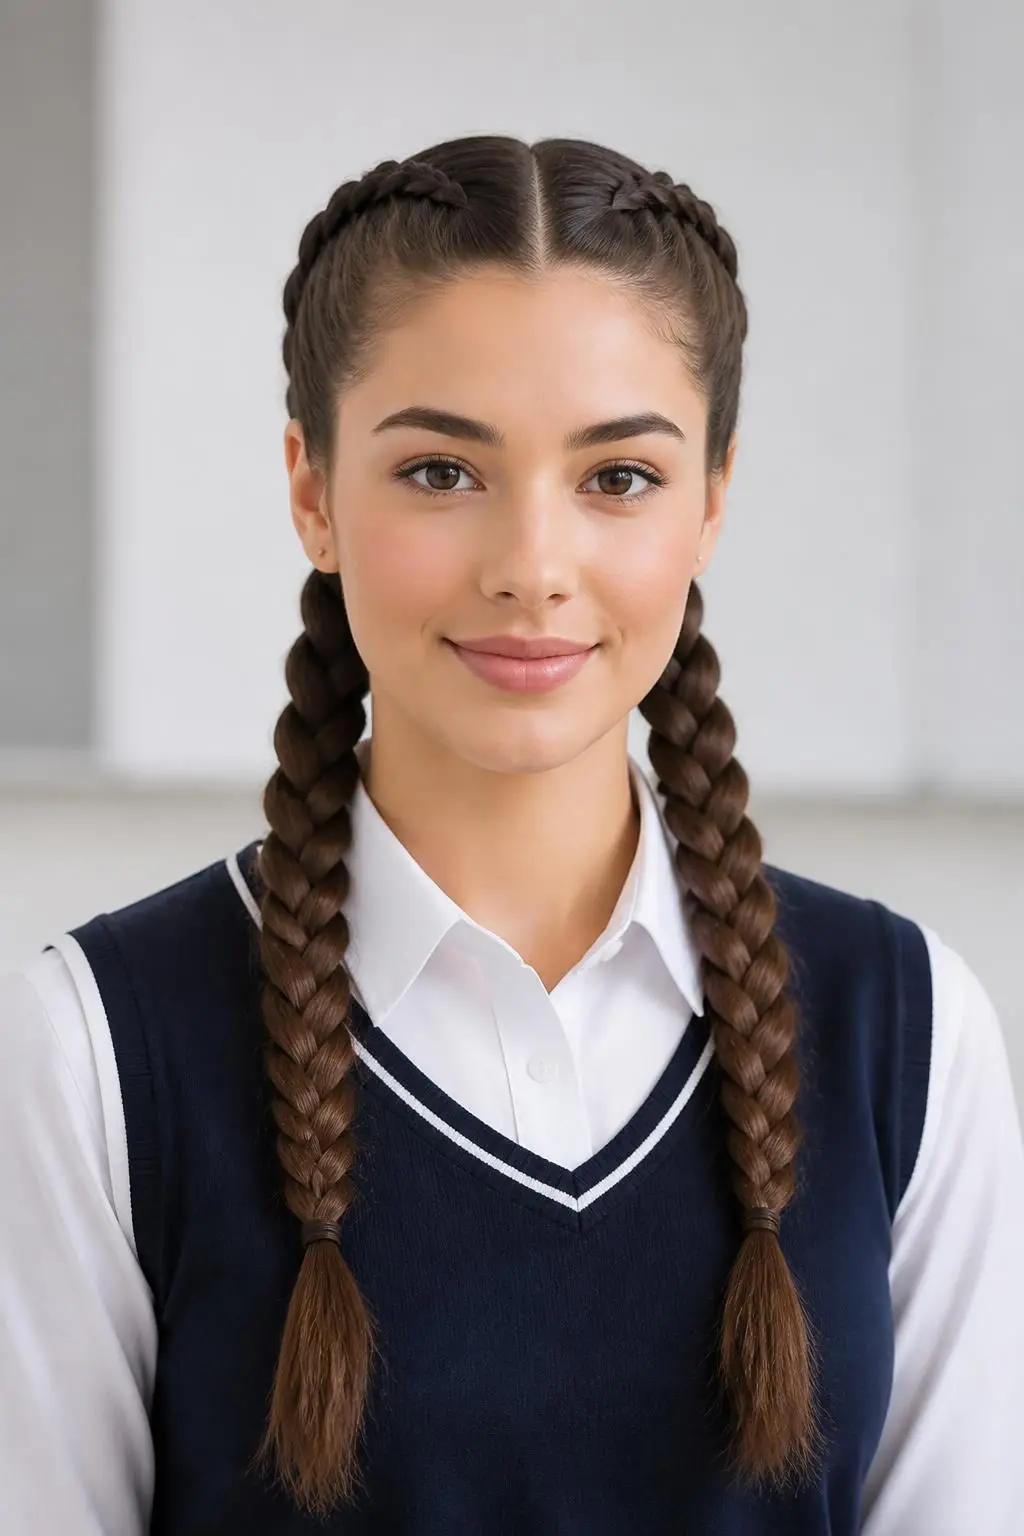
Take the same classic braid and loosen it up for a softer, more effortless look. Gently pull at the edges of each section after braiding, and let a few pieces frame your face for a slightly undone, “didn’t try too hard” finish.
This version works especially well on second-day hair, since a little texture helps the loosened sections hold their shape better throughout the day.
Tips for the Perfect Amount of Looseness
Loosen from the top down, not all at once. This keeps the braid structured near the crown while still looking relaxed toward the ends.
18. Double French Braids for Sporty Sleekness
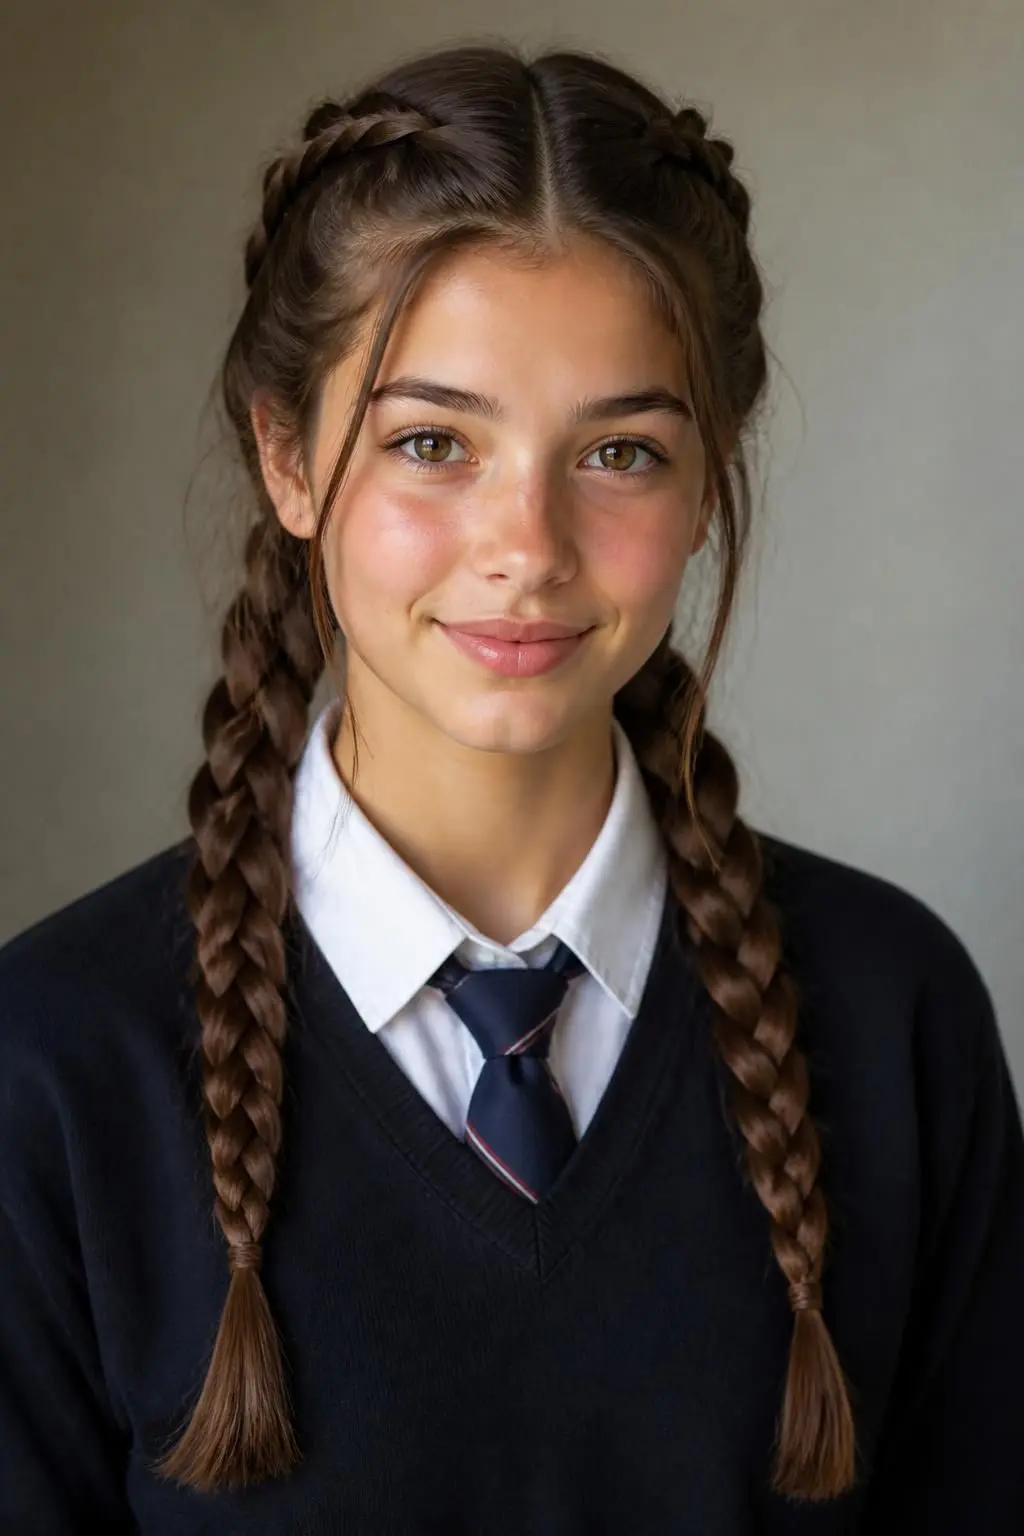
Two neat French braids keep hair completely secured through PE class while still looking intentional by the time last period rolls around. Part your hair down the middle and braid each side close to the scalp for a sporty, boss-energy finish.
This is one of the most durable styles on the list, holding up through physical activity, wind, and a full day of classes without needing a mid-day touch-up.
Tips for Braids That Survive Gym Class
Secure the ends with small, tight elastics, not just one loose tie. This prevents unraveling during more active parts of your day.
19. Front Double Frenchies for Face-Framing Detail

Rather than braiding your entire head, create two small French braids just at the front, framing your face, and let the rest of your hair fall naturally behind them. It’s a subtle detail that adds a lot of visual interest for very little effort.
This style keeps hair out of your eyes without the commitment of a full braided look, making it a great in-between option for busy mornings.
Tips for Symmetrical Front Frenchies
Section off equal amounts of hair on each side before starting. This keeps both mini braids proportional to each other.
20. Double Dutch Braids for All-Day Durability

Two tight, head-hugging Dutch braids are about as durable as school hairstyles get. They hold up through windy walks to school, gym class, and everything in between, all while looking sporty and put-together.
Unlike French braids, Dutch braids sit on top of the hair rather than underneath, which gives them a slightly more raised, textured look once finished.
Tips for Long-Lasting Dutch Braids
Braid as close to the scalp as possible. Tighter braiding near the root is what gives Dutch braids their signature staying power.
21. Dutch Braid Buns for Sporty Structure
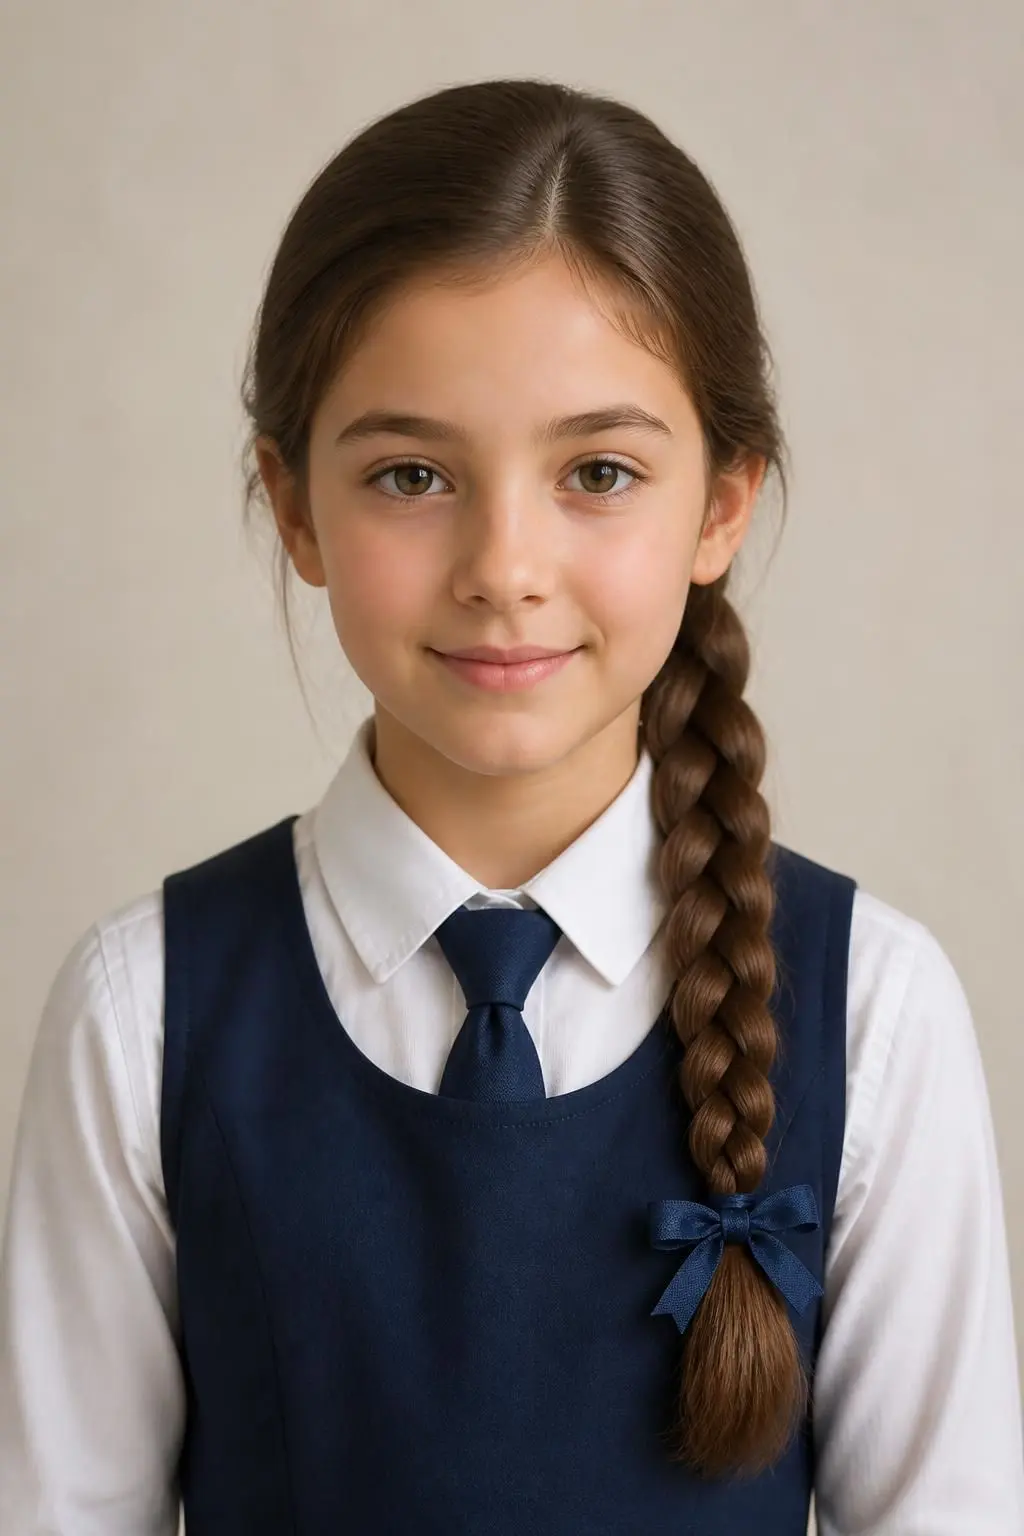
Take your double Dutch braids one step further by twisting each one into a small bun once you reach the ends. It adds structure and keeps length from swinging around during more active parts of your day.
This combination style reads as more put-together than plain braids while still being genuinely practical for busy school days.
Tips for Securing Braid Buns
Use bobby pins in a crisscross pattern to secure each bun. This holds better than a single pin and keeps the buns from unraveling by afternoon.
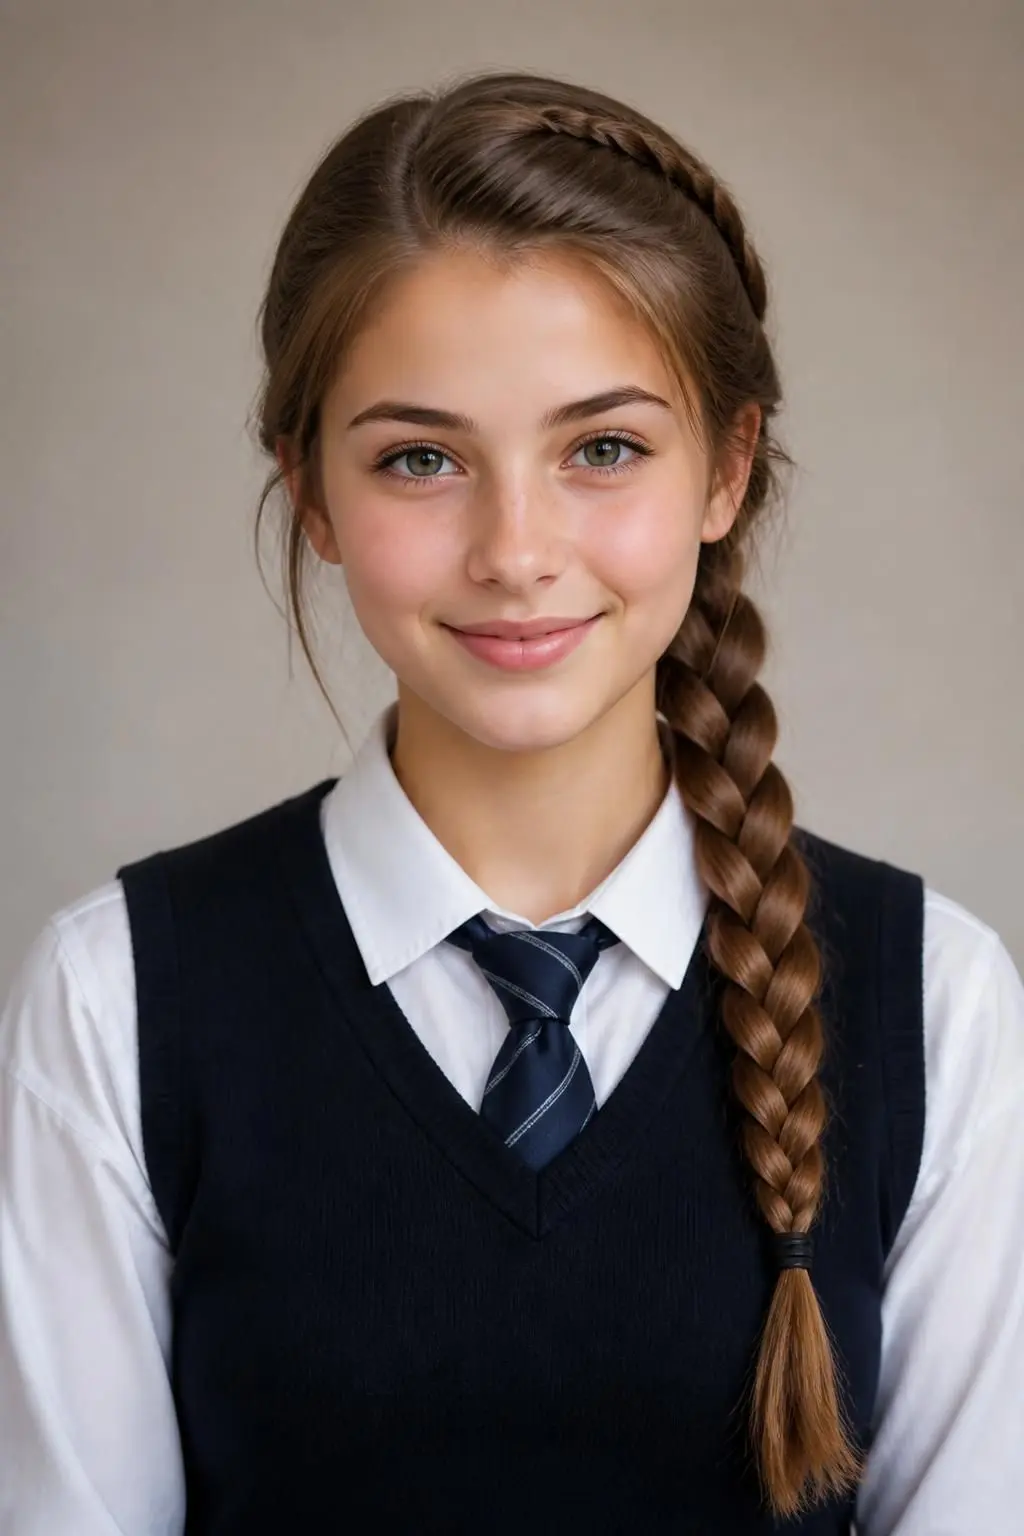
22. Simple Braid With a Bow for a Sweet Detail

Take any basic braid and tie the end with a bow instead of a plain elastic. Whether it’s a velvet ribbon or a printed scrunchie, this small swap instantly adds personality to an otherwise simple style.
It’s an easy way to show a bit of personal style within school dress code rules, since the change happens entirely at hair level rather than through makeup or accessories elsewhere.
Tips for Bow-Tied Braid Ends
Secure with a small elastic first, then tie the bow over it. This keeps the braid from loosening even if the bow itself comes a little loose.
23. Flower Bun for a Blooming Updo

This updo looks like it took serious effort, but it’s genuinely a five-minute style once you know the trick. Twist your hair into a bun, then gently fan out the sections so they resemble flower petals rather than a smooth, rounded shape.
It’s a great option for days you want something a little more special without a full hour of styling beforehand.
Tips for Petal-Shaped Buns
Pin each “petal” section individually rather than all at once. This keeps the fanned shape from collapsing as you finish the style.
24. Messy Low Bun for Overslept-but-Flawless Mornings
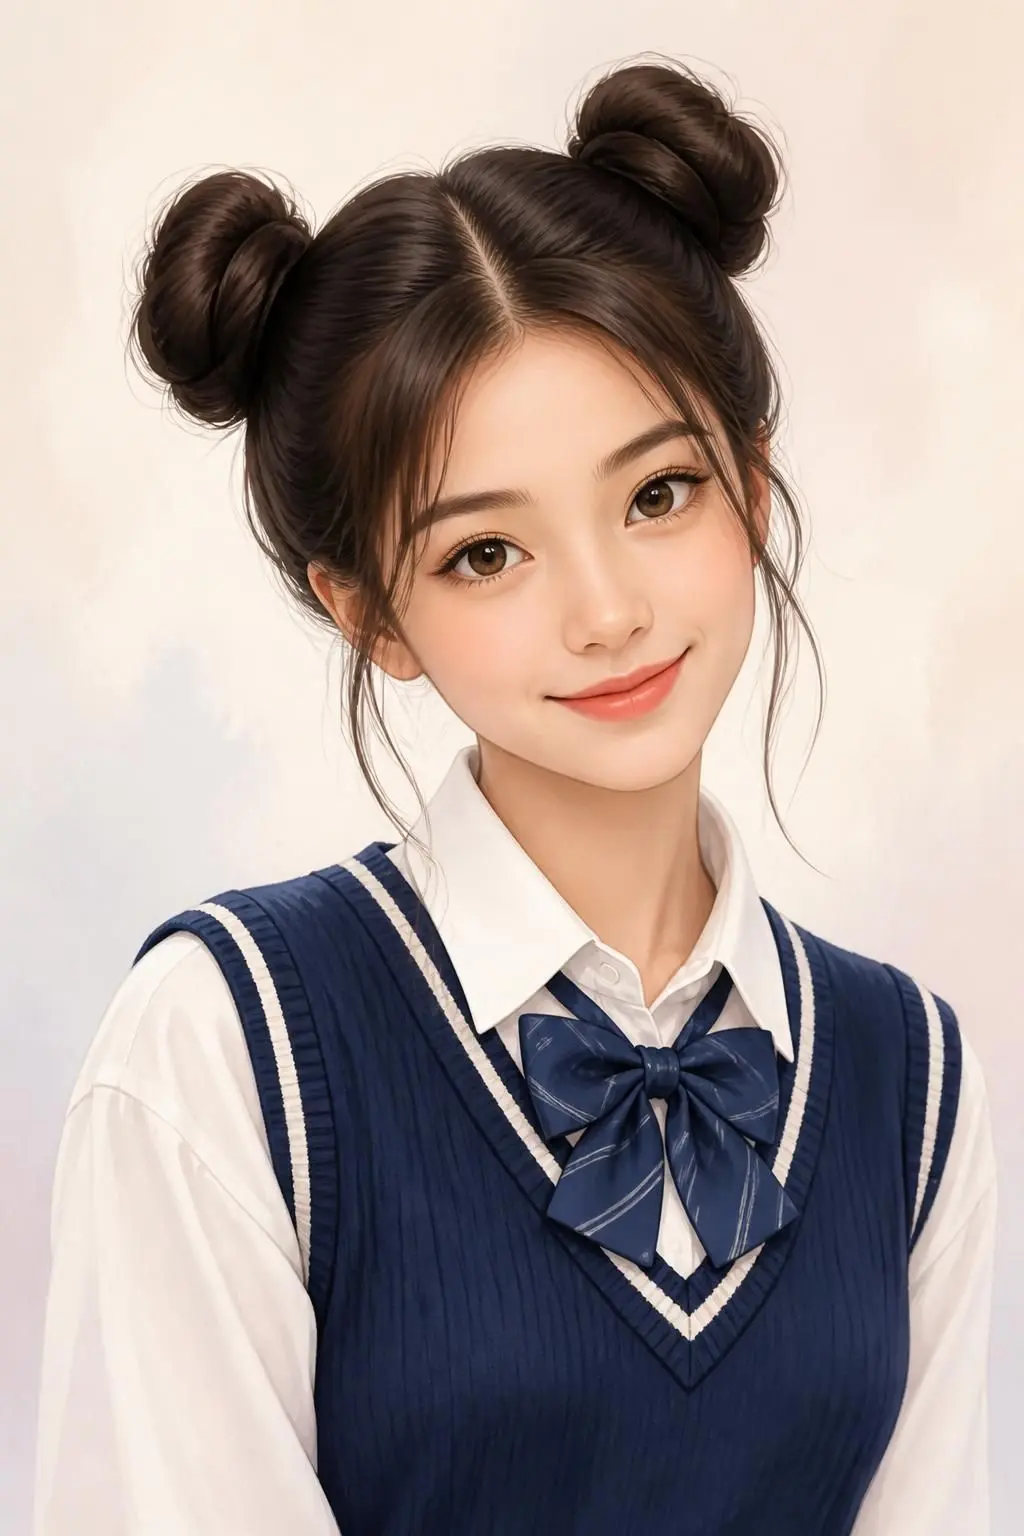
For mornings when you genuinely have no time, the messy low bun is the answer. Gather your hair, twist it into a loose bun at the nape of your neck, and pull out a few face-framing pieces for a tousled, effortless finish.
Despite taking almost no time, it reads as intentional rather than rushed, which makes it one of the most reliable go-to styles on this entire list.
Tips for a Bun That Looks Effortless, Not Undone
Twist before securing, don’t just wrap. A twisted base holds its loose shape better than hair simply wrapped and pinned flat.
25. Cute Double Buns for Playful Structure
Skip the classic pigtails and go for double buns instead. Part your hair in two, twist each section, and secure into small, neat buns on either side of your head for a look that’s playful without feeling babyish.
This style keeps hair fully secured, making it a solid, low-maintenance option for both gym days and regular classes alike.
Tips for Neat, Even Double Buns
Twist each section the same number of times before wrapping. This keeps both buns matching in size and tightness.
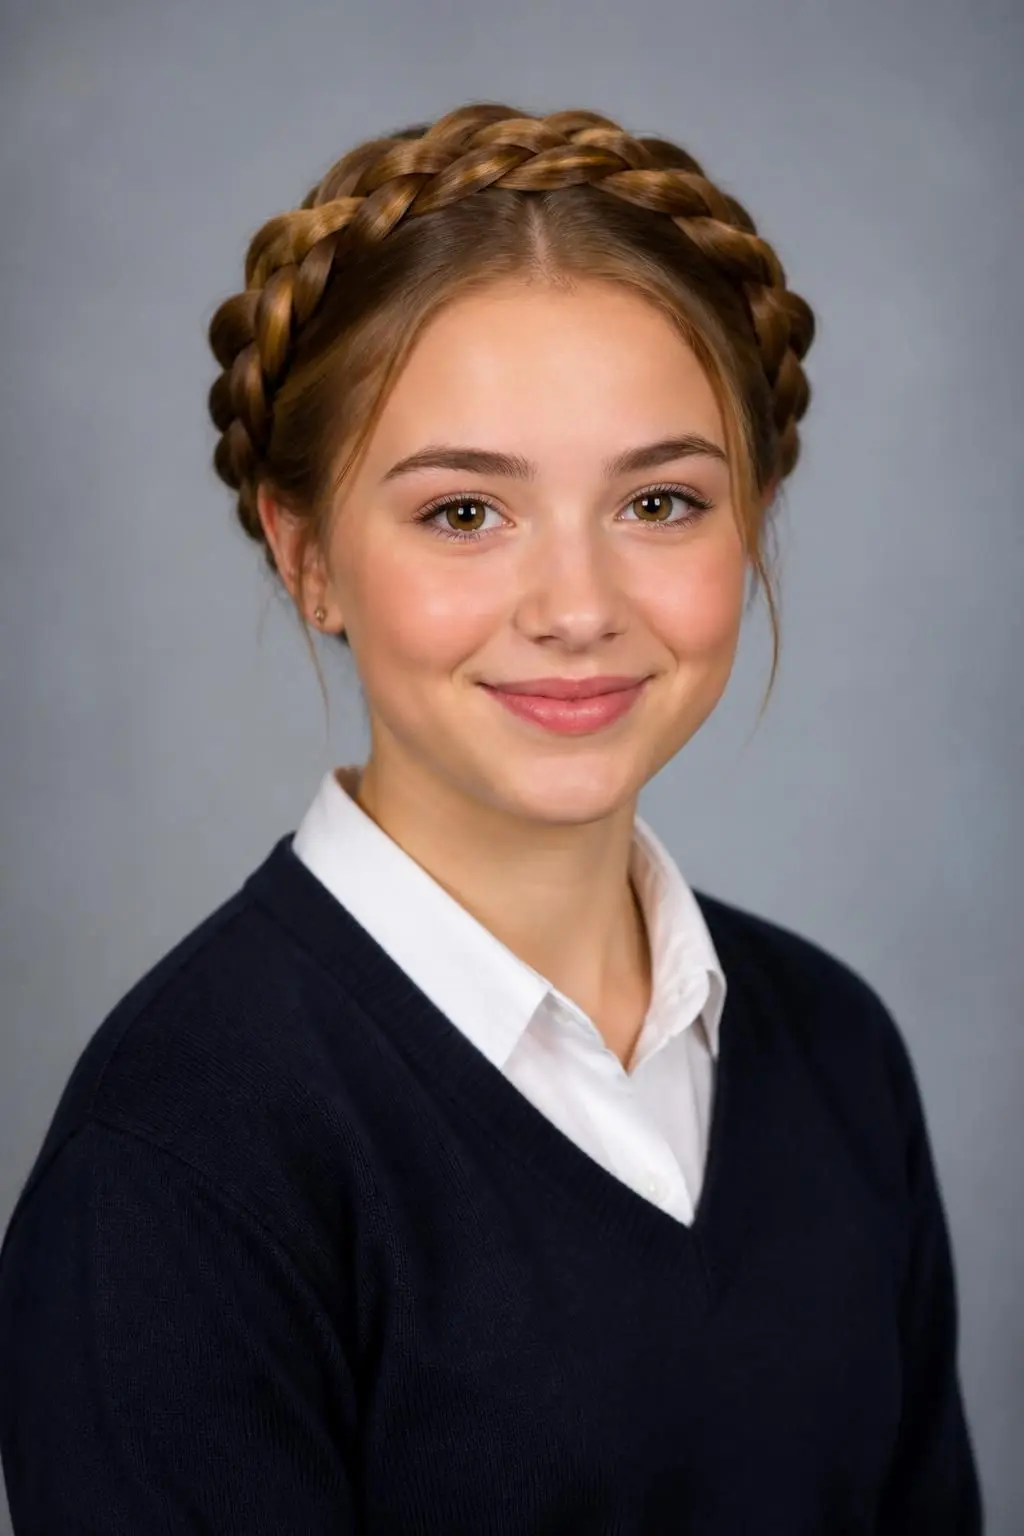
26. Braided Crown for Picture-Day Polish
For days that call for something a bit more special, like school photos or a performance, a braided crown instantly elevates your entire look. Braid two sections starting near each ear, then cross and pin them across the top of your head like a halo.
It takes more time than most styles on this list, but the payoff is a genuinely elegant, camera-ready finish that still keeps hair completely secured.
Tips for a Crown Braid That Holds All Day
Pin every couple of inches, not just at the very end. Multiple small pins distribute the hold more evenly than one or two large ones.
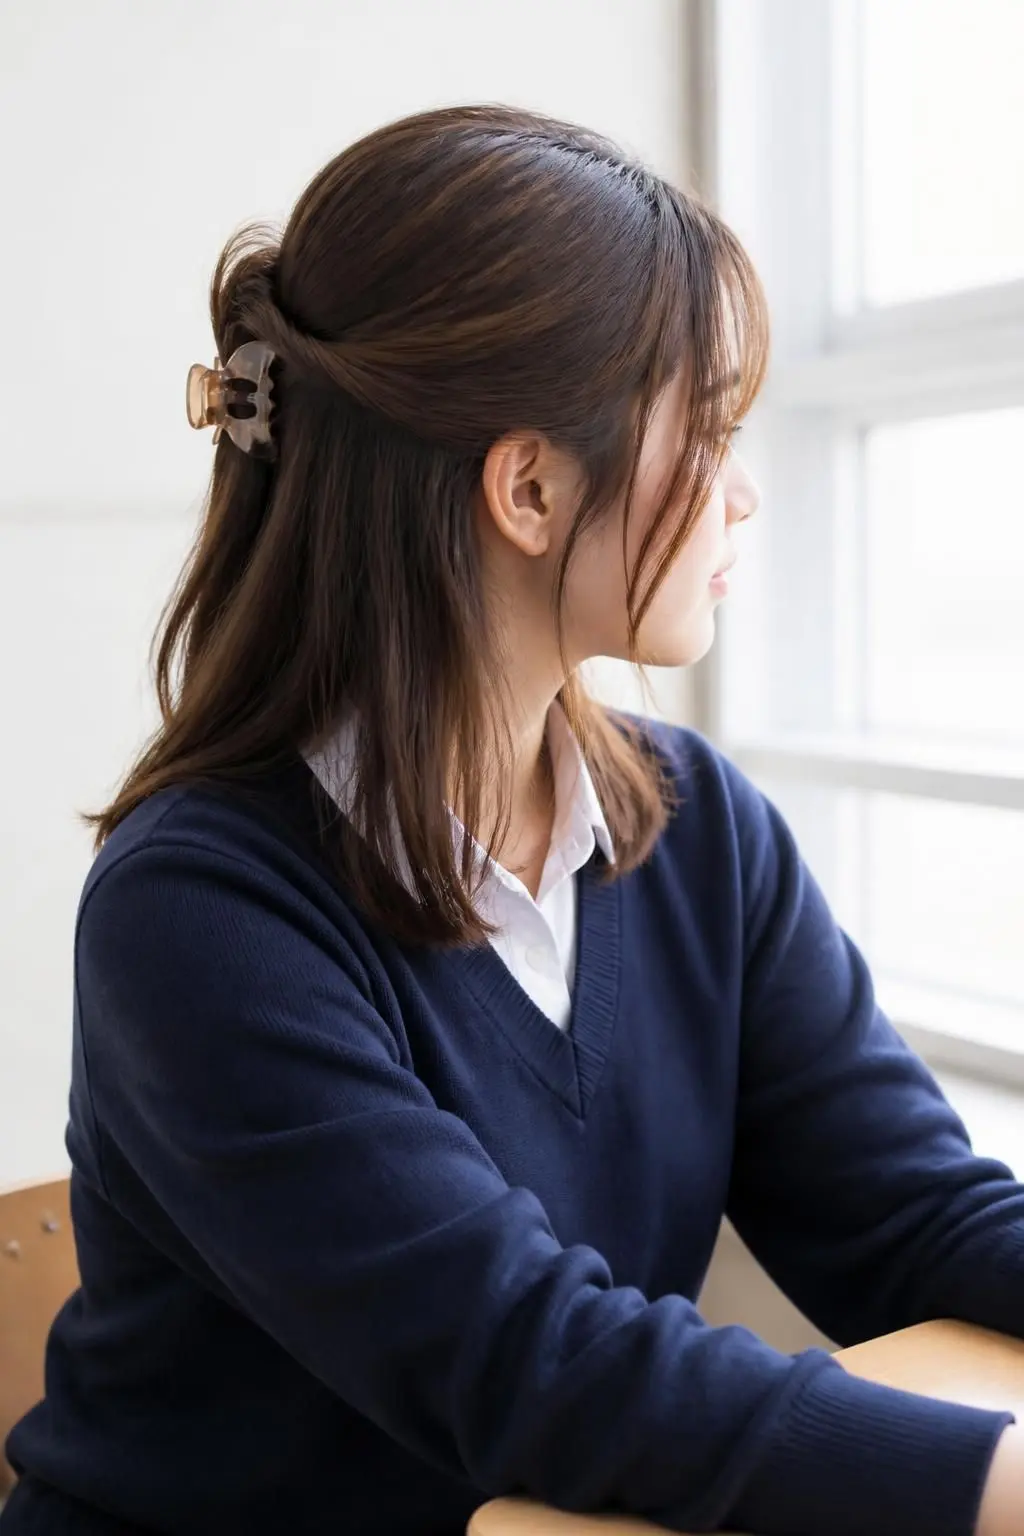
27. Claw Clip Half-Twist for a No-Fuss Backup
For the busiest mornings, twist the top section of your hair away from your face and secure it with a claw clip instead of an elastic. It takes seconds, requires zero braiding skill, and still looks noticeably more finished than hair left completely down.
This is the style to keep in your back pocket for days when every other option on this list feels like too much effort.
Tips for a Claw Clip That Stays Put
Twist the section before clipping, rather than just gathering it flat. The twist gives the clip something to grip, so it’s less likely to slide out during the day.
FAQs
What’s the fastest hairstyle for school on a rushed morning? A claw clip half-twist or a messy low bun both take under a minute and still look intentional, even when you’re running out the door.
Which hairstyles hold up best through gym class? Double Dutch braids and double French braids are the most durable options, since tight braiding close to the scalp keeps hair secure through movement.
How do I make a basic ponytail look more interesting without much effort? Try a bubble ponytail or a zigzag part. Both add visual interest to a ponytail you already know how to do, without requiring new braiding skills.
What hairstyles work well for picture day? The braided crown, flower bun, and sparkly bow half-up all read as more polished and put-together, making them solid picture-day choices.
Can these hairstyles work on shorter hair? Yes, most of them, including half-up styles, front braids, and claw clip twists, adapt well to shoulder-length or slightly shorter hair with minor adjustments.
Building a Weekly Hairstyle Rotation That Actually Works
Instead of deciding what to do with your hair every single morning, try assigning a few go-to styles to specific days. Save your fastest options, like the claw clip twist or messy bun, for early mornings, and save braided styles for days you have a little extra time or gym class on the schedule. Having two or three reliable defaults means you’ll never stand in front of the mirror wasting precious minutes deciding what to do.
Final Words
School might not leave much room for makeup or elaborate outfits, but your hair is one place you can genuinely have fun. Whether you’re reaching for a five-minute half-up or committing to a full braided crown for picture day, these 27 styles give you options for every kind of morning. Save this list, try a new one each week, and let your hair carry the personality your dress code can’t.
Don't miss the next one
Quick outfit ideas and beauty tips, straight to your inbox.